Golden brown, tender, and irresistibly juicy, this Convection Oven Turkey in a Bag delivers all the savory flavor and cozy nostalgia of a homemade holiday meal. Turkey is budget-friendly, simple to make, and I’ll walk you through every step!
Roasting turkey in a convection oven means it cooks more quickly and evenly, giving you perfectly tender, craveable meat in less time. When you double down and use an oven-roasting bag, the process becomes even easier — and the results even juicier.
Cooking turkey in a bag not only shortens roasting time but also locks in moisture and flavor. The oven-safe bag keeps all those delicious drippings right where they belong, basting your turkey from the inside out and creating rich pan juices for gravy.
My convection oven turkey recipe uses just a handful of simple ingredients to build incredible flavor while keeping prep — and cleanup — wonderfully easy.
Plus, I’m going to show you how to prepare gravy from the drippings and how to MAKE money on this turkey dinner! It doesn’t get more budget-friendly or delicious than this easy recipe!
Ingredient Tips and Info
- 1 Whole Turkey (20 to 25 lbs.), thawed – Plan ahead. A frozen turkey this large will probably take about five days to thaw in the refrigerator. Make your life easier and pull it out of the freezer five days before you plan to cook it. Set the whole thing, bag and all, into something that will catch any drips or bag leaks, and place it at the bottom of your fridge. Let it sit and thaw over the next few days, so prepping it to roast will be a simple job.
For Compound Butter
- Salted Butter, softened – Any flavor going into your bird happens during roasting. You can always salt the meat after slicing, but that only seasons the surface. Use unsalted butter if you prefer, but add a bit more salt to your compound butter to balance the flavor. Taste and adjust before prepping the turkey. The butter — along with the fat rendered from the skin — is what carries those delicious flavors deep into your juicy turkey in a bag.
- Mixed Fresh Herbs – I like a blend of sage, parsley, thyme, and rosemary for that classic holiday flavor. Feel free to mix your own favorite fall seasonings. Dried herbs work too — just use about one-third the amount since their flavor is more concentrated.
- Minced Garlic – Adds a subtle depth and savory warmth that complements the herbs beautifully.
- Salt and Pepper – Simple, essential, and the key to bringing all those fresh flavors together.

For the Roasting Bag
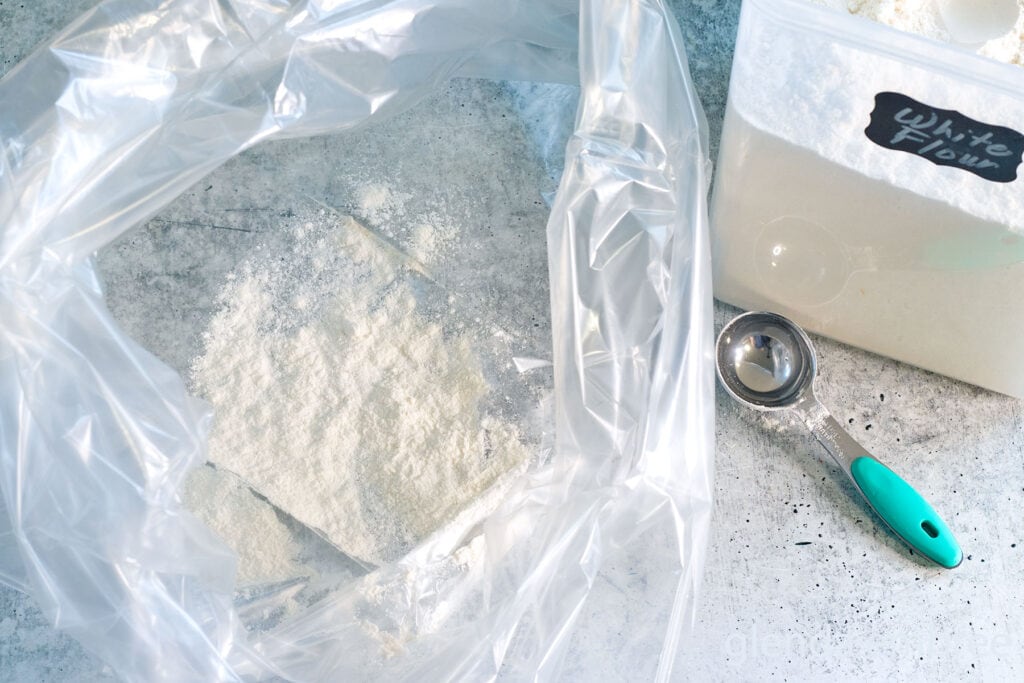
- Flour – It’s just one tablespoon, but don’t underestimate its importance! Shaking a little flour inside the oven bag keeps it from becoming brittle or bursting open, prevents it from sticking to the turkey, and helps emulsify the drippings into rich, flavorful gravy.
- Red Onions, cut into thick slices
- Carrots, cut into large chunks
- Celery, cut into chunks
- Bay Leaves
How Big a Turkey to Buy
When roasting a convection oven turkey in a bag, plan on about 1½ pounds of turkey per person. That allows for generous servings and a few leftovers.
The reason for this larger amount is simple — a whole turkey is roughly 50% bones and skin, so only about half its weight is edible meat.
For a big dinner with around 20 guests, I’d roast two turkeys between 18 and 25 pounds each. I always want leftovers for Thanksgiving Casserole, Turkey Avocado Sandwiches, or a cozy pot of soup, subbing turkey for the chicken! These crazy-good ham and cheese sliders are also incredibly easy to make and are perfect with leftover turkey in place of ham.
If you’re cooking for six people, a 12–15 pound bird is perfect for generous servings and a few leftovers (though technically, a 10-pound turkey would feed everyone just fine).
If you’re only cooking Thanksgiving dinner for two my Easy Crockpot Turkey Tenderloins recipe will be perfect for you! Be sure to check it out.
I’m that girl who never wants anyone leaving my table hungry — and running out of food just isn’t an option. So yes… leftovers all the way for me! I always plan for them.
But you do what fits your family, your budget, and your Thanksgiving traditions.

FAQs
Yes! Oven-safe roasting bags are designed to handle convection heat. Just make sure the bag isn’t touching the oven walls or heating elements, and always place it in a deep roasting pan.
Most convection ovens roast turkey beautifully at 325°F. If yours is like mine, it will actually change the temperature you put in to 25° lower. So, I punch in my usual turkey roasting temp of 350° degrees, but because I’m using the convection setting it will automatically reset to 325°. Does your oven do that, too?
Cooking time depends on the size of your bird. Plan on about 8–10 minutes per pound at 325°F when using a convection oven and an oven bag. Always check doneness with a meat thermometer — the USDA-recommended safe temperature is 165°F in the thickest part of the thigh. I also test the center of the thickest point in the breast. I tend to go slightly over that temp (175 to 180°) because I want juices to run clear with no pink. At 165°, they can still have a pink tinge sometimes. Cook to your own preference, of course, but at least to the safe temperature of 165°.

This turkey was roasted 100% in the bag, and the golden brown skin is a result of the butter used both under and on top of it. If you prefer even crispier skin, carefully cut open the bag during the last 15–20 minutes of roasting and let the turkey crisp up directly under convection heat. Just keep an eye on it so it doesn’t overbrown.
No. It’s not recommended. Stuffing slows down cooking and may prevent the turkey and stuffing from reaching a safe temperature at the same time. Instead, cook stuffing separately for best texture and food safety.
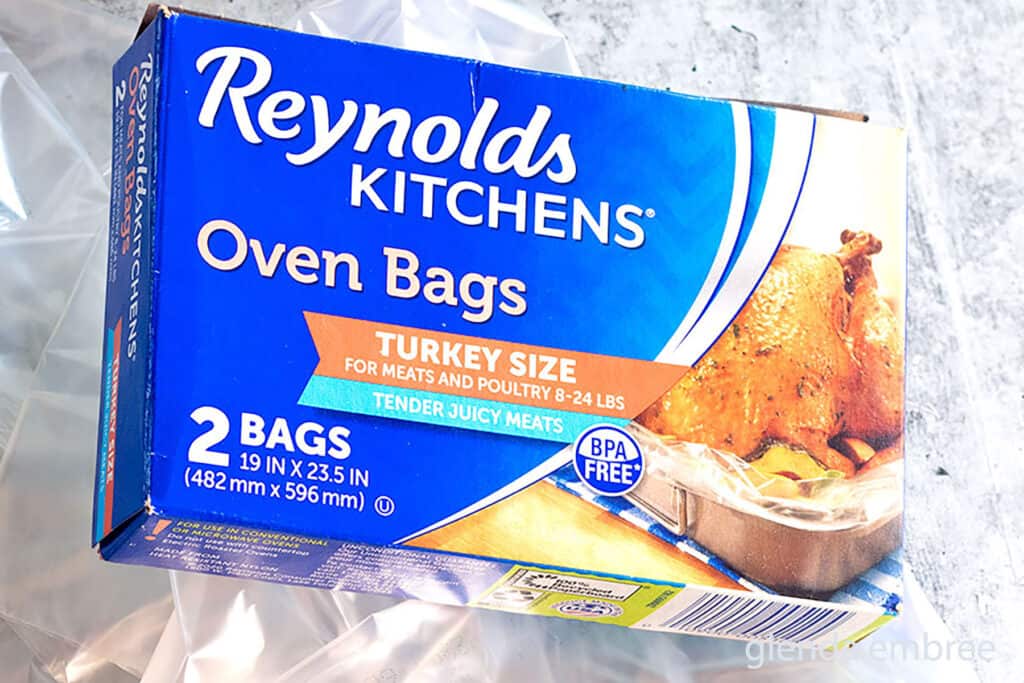
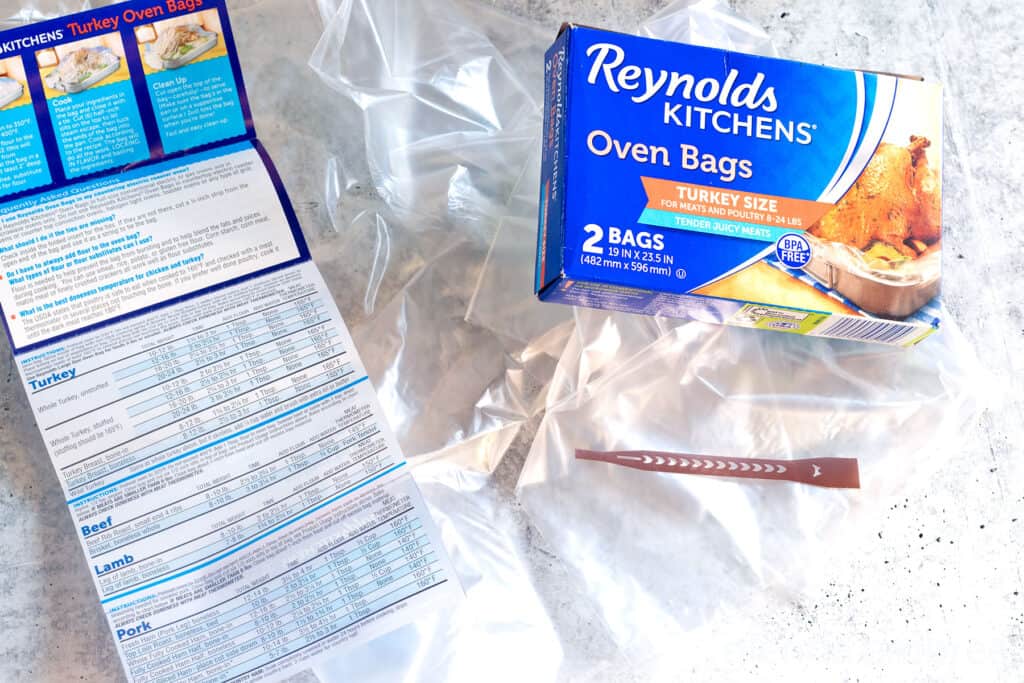
A standard large (turkey-size) oven bag typically fits turkeys up to about 24 pounds, but check the box for size limits. If your turkey is close to the maximum, make sure there’s still room for the bag to expand without touching the oven’s interior. There is a smaller size available too, but it only holds up to 10 lbs. The packaging for both is very similar, so please read carefully and ensure you get the large size. Here’s the brand I always grab at Walmart. [affiliate link]
Yes! You can roast the turkey a day ahead, carve it, and store it in some of the drippings. Bring the turkey to room temperature for about one hour before putting it into the oven. Make sure there are plenty of drippings in the bottom of the pan. I also like to dot a few pats of butter around the top of the sliced turkey. Cover it tightly with foil and reheat at 350° until it comes up to 165°. Be sure the pan is sealed tightly to keep all the moisture inside. If you have measured out and saved the drippings for gravy and feel you might need a little more in the pan to reheat your turkey, you can use water, chicken broth or turkey bone broth you made from the turkey carcass.
The ultimate turkey gravy! After removing the turkey and vegetables, strain the flavorful juices and use them to make rich, silky turkey gravy. The veggies and bay leaves will have melded with your turkey drippings to create a delectable flavor for just this purpose. The drippings can also be used to drizzle over sliced turkey if you prepare it a day ahead and rewarm it on Thanksgiving Day.
How to make turkey gravy from drippings: Add 6 cups of the drippings (or bone broth from the turkey carcass) to a saucepan. Whisk together 3/4 cup cold water and 1/2 cup of cornstarch in a small bowl or a liquid measuring cup. When the cornstarch is completely dissolved, whisk the slurry into your pan drippings. Cook over medium-high heat, stirring constantly until the gravy has thickened. Taste and add salt and pepper if needed. SO good!

Tools You’ll Need for Convection Oven Turkey
- Roasting Pan: Some people use the large disposable foil roasting pans to save on clean-up, but I find that they are too flimsy for the large turkeys I roast. Let the size of your turkey determine the pan size you need. I recommend an enameled roaster with handles [affiliate link] or a half-sheet cake pan [affiliate link] if you’re cooking a 20- to 25-lb bird.

- Turkey Roasting Bag: I buy the Reynolds brand bags at Walmart, but grab whatever brand is available to you. Be certain you don’t grab just plain bags. Roasting bags will say “oven-safe” on the outside of the box. They also come in two sizes. Get the large size that can accommodate a turkey. It will contain an oven-proof zip tie to close the bag and a chart of sizes, temperatures, and cooking times for your reference.
- Meat Thermometer: It’s always important to use a meat thermometer [affiliate link] and cook meat to USDA safe internal temperature recommendations rather than relying solely on a recipe’s suggested cooking time.
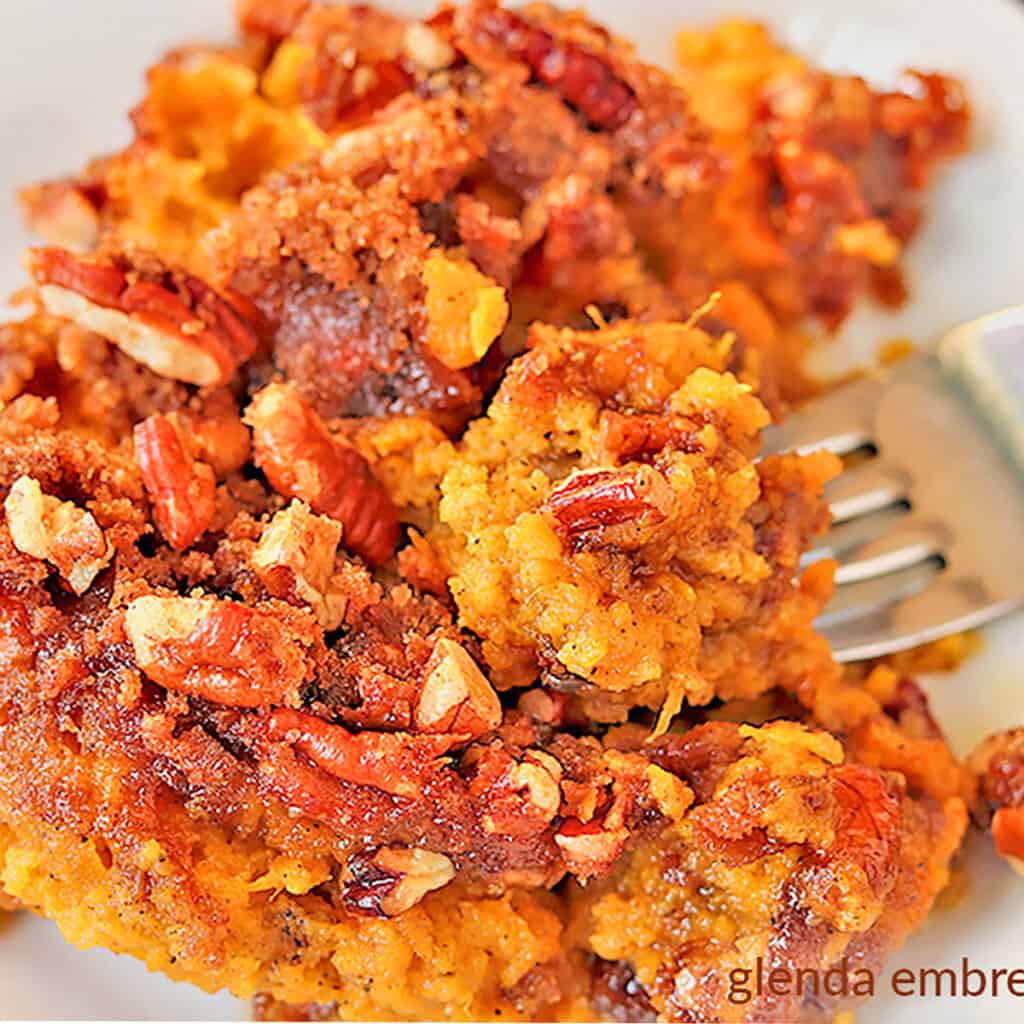
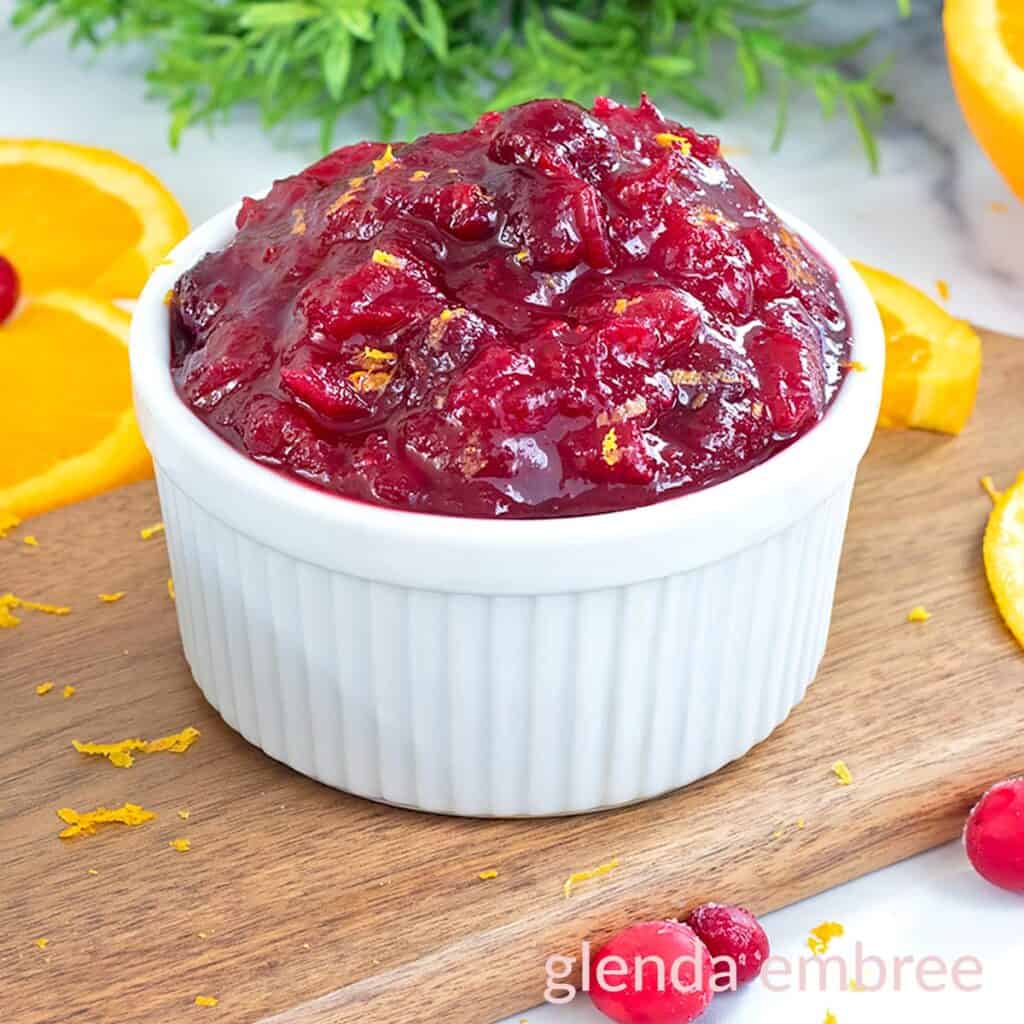
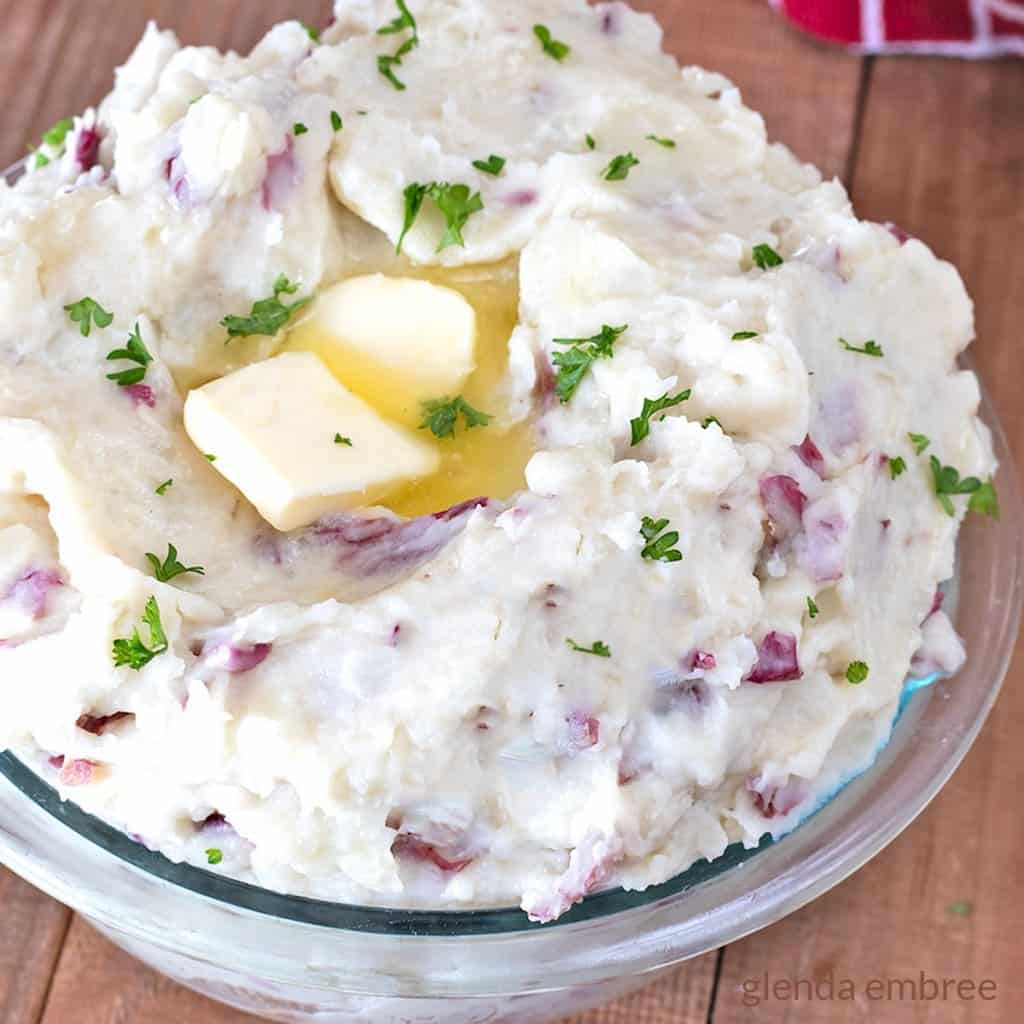
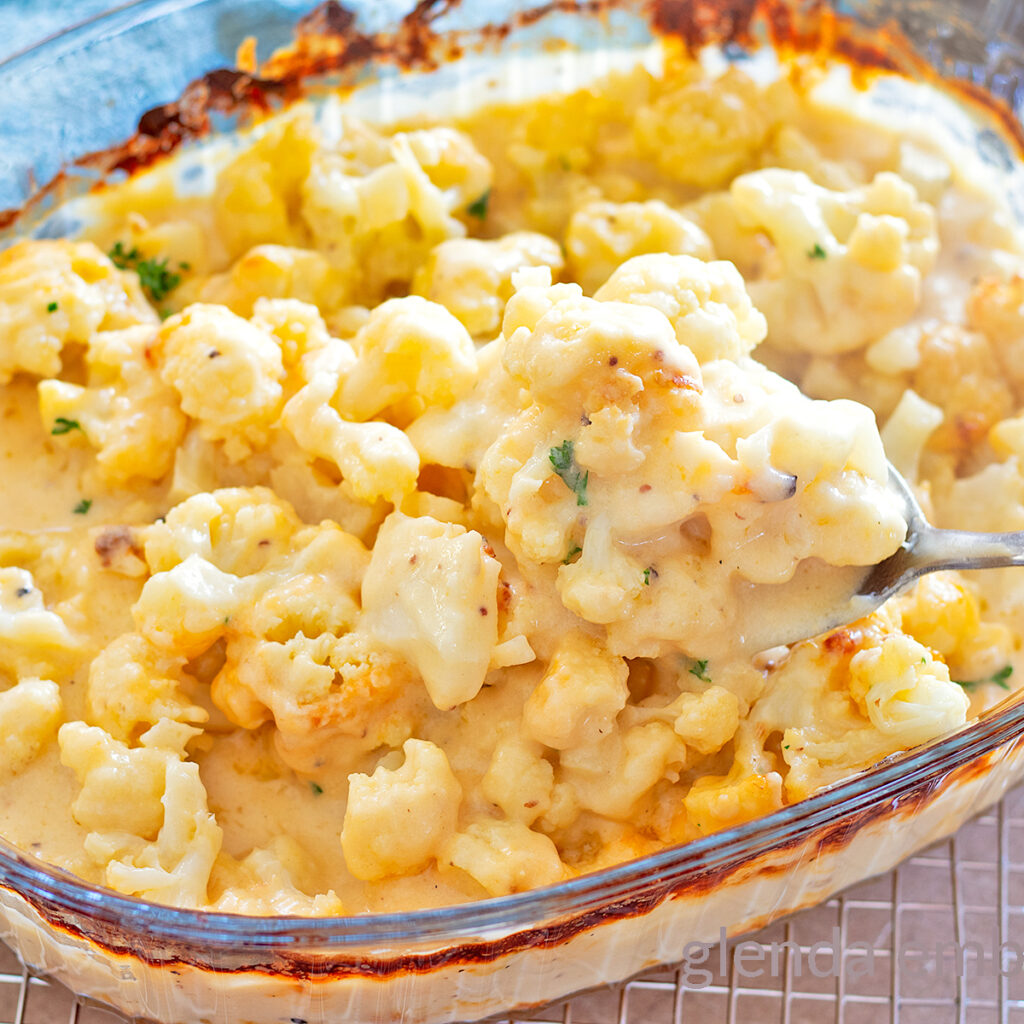
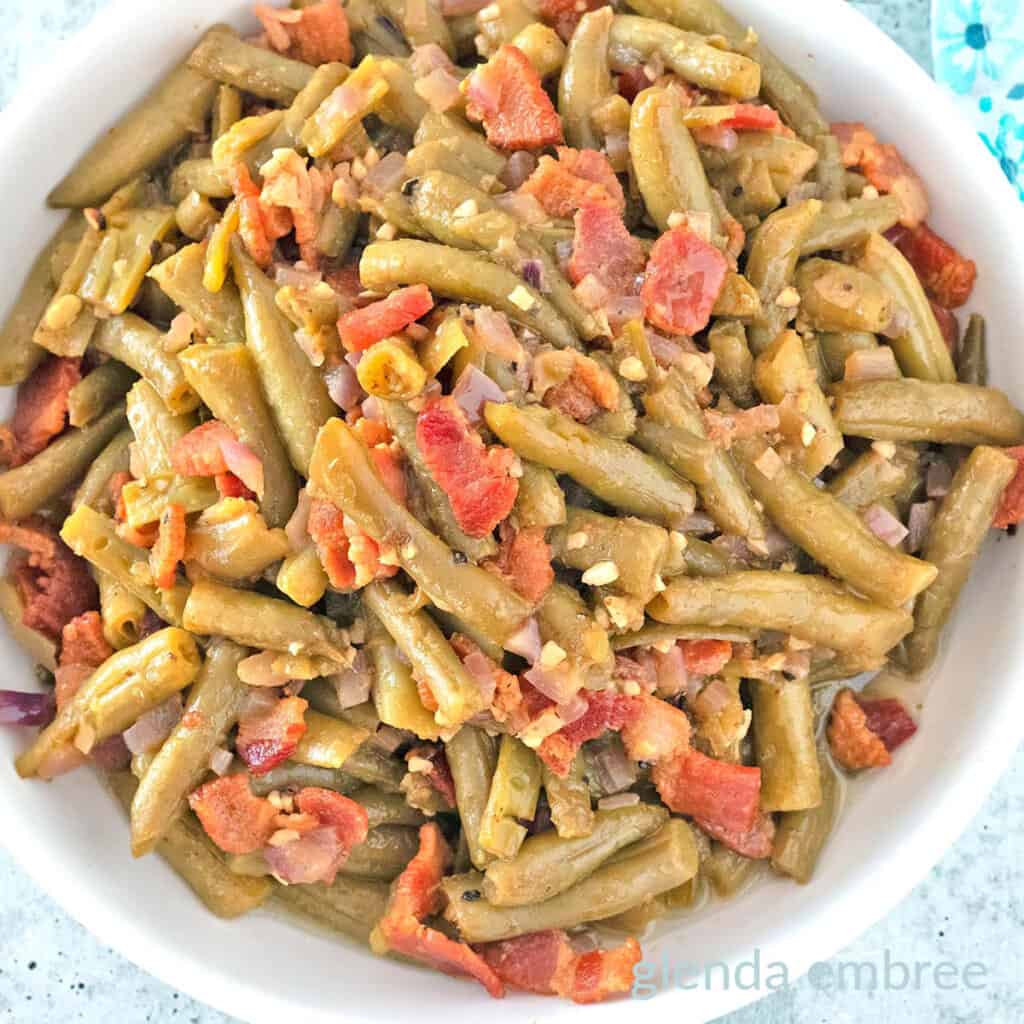
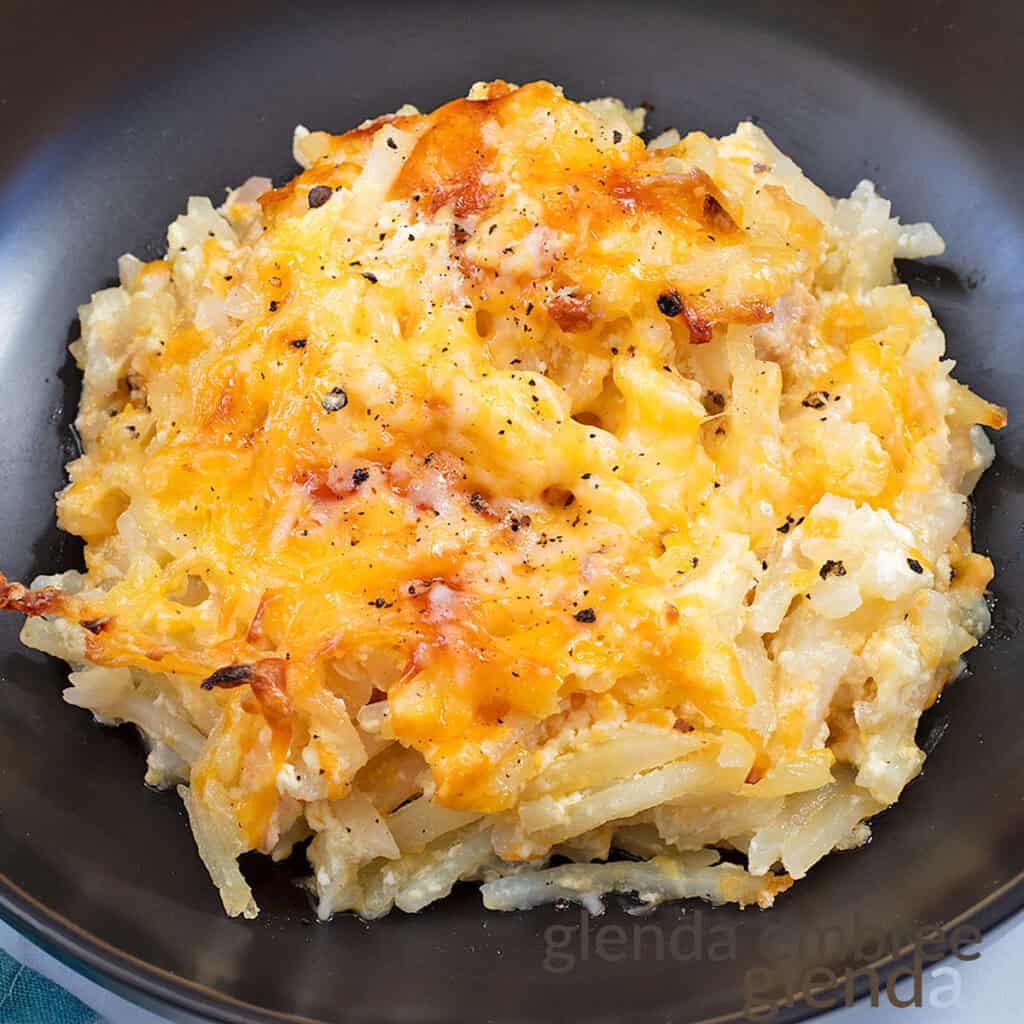
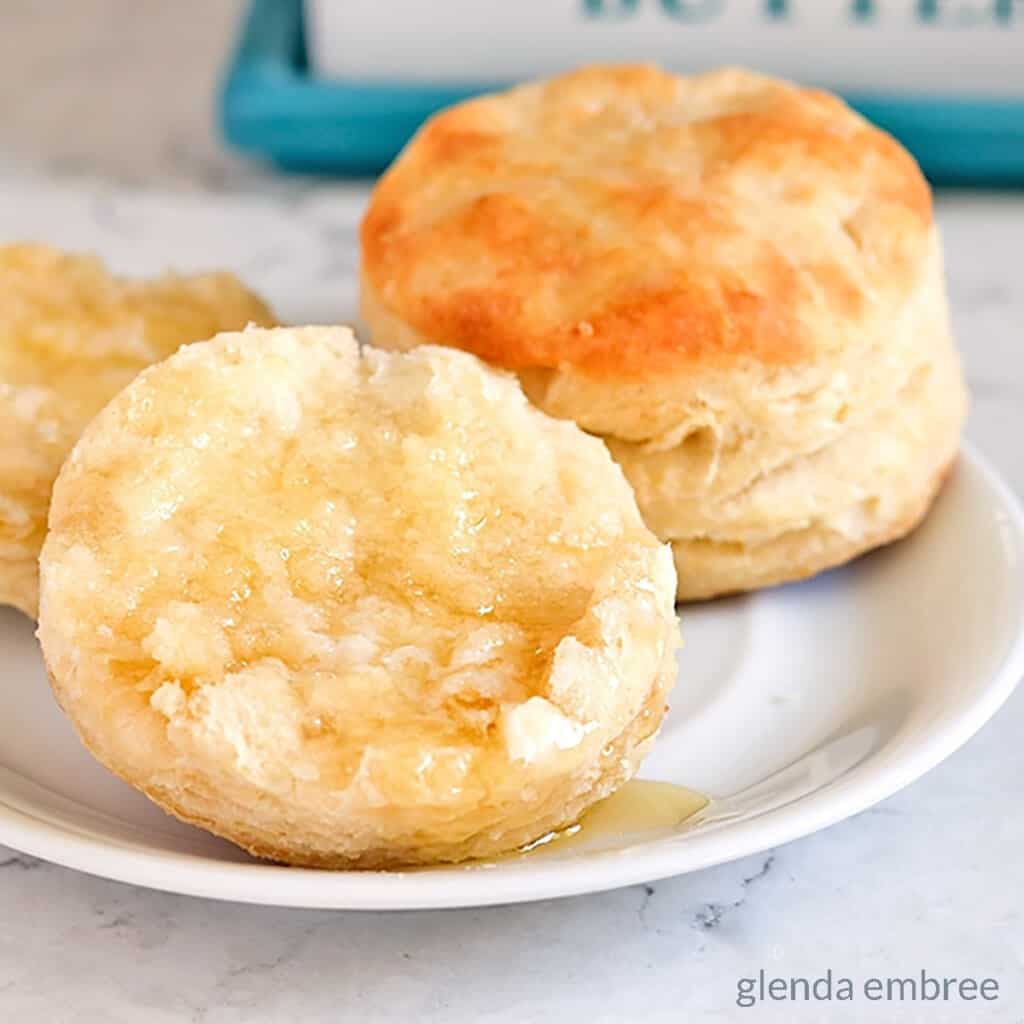
Holiday Perfect Sides for Juicy Turkey in a Bag
I have so many tasty dishes that will be perfect complements to your Thanksgiving turkey. Check out these favorites!

That Carcass is Grocery Money!
I’m not that girl — the one with a turkey on display in the middle of the table, being carved in front of everyone. My bird is never the centerpiece, and that’s on purpose. There are a few simple reasons I roast my turkey ahead of time and bring it to the table tender, juicy, piping hot, and already sliced for serving.
1. Mess
Carving a turkey is not an elegant process, no matter how it looks on TV. There’s skin, bones, juices, and grease — and they never show what happens to all that while you’re carving at the table. 😂
I prefer a neater presentation and a stress-free meal. Plus, I want everyone to dig right in instead of waiting while the turkey is carved.
2. Make It Ahead
I like to make my juicy convection oven turkey the day before I’ll be serving it. Then I can slice it, store it, and reheat it for our holiday meal. That gives me time to strain the drippings for gravy and simmer the turkey carcass with veggies and herbs to make delicious bone broth.
When it’s all done, I clean up the mess ahead of time — no chaos or greasy pans to deal with on Thanksgiving Day!
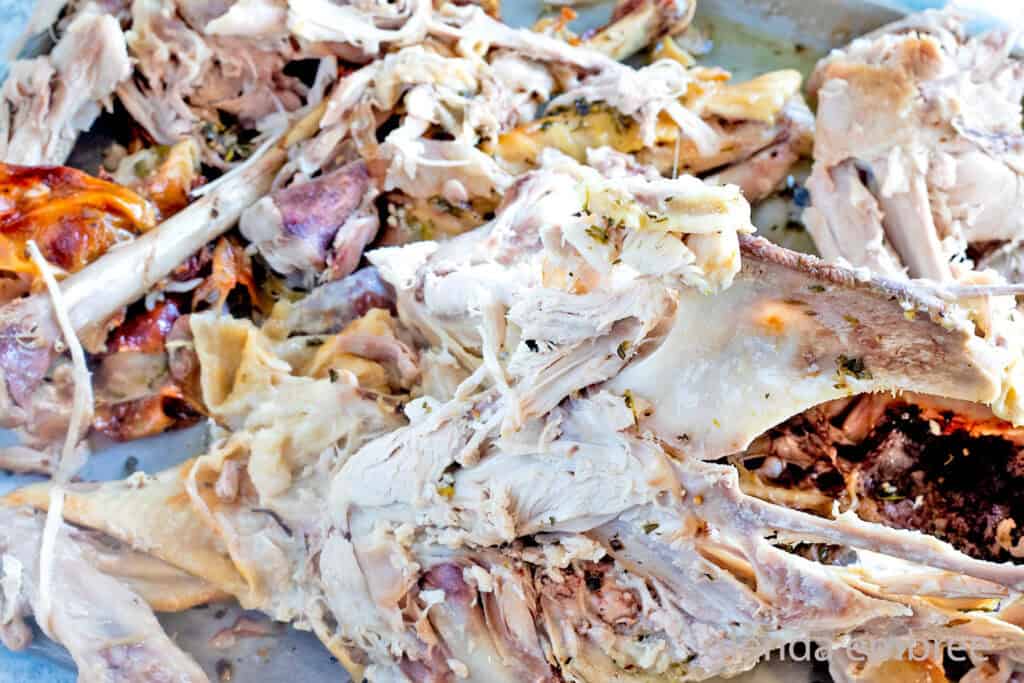
3. Make Bone Broth
If you make bone broth (and yes, you absolutely should!), start your turkey in the morning. You’ll have plenty of time to rest it, slice and store it, and then make this rich, golden broth before bedtime.
Place the turkey carcass in the bottom of a large (12 quart) stock pot [affiliate link] and add:
- 1 quartered red onion
- 3 carrots cut into chunks
- 2 celery stalks chunked up
- 2 Tablespoons minced garlic
- 2 Tablespoons apple cider vinegar
- 2 teaspoons salt
- 1 teaspoon black pepper
- a bay leaf
Fill the pot with water until everything is completely submerged. Bring it to a boil over high heat, then reduce to a simmer. Let it gently bubble away for 6 to 10 hours, depending on your schedule.
Friend, this is extraordinary bone broth — flavorful, rich, and nothing like the watered-down “broth” from the store. The cheapest one-quart carton I found at Walmart was $5.48, and I made six quarts from the carcass of a turkey I was already cooking!

I MADE Money on this Bird!
$5.48 × 6 = $32.88 — that’s the value of the bone broth I made if I had bought it at the store.
My whole 20-pound turkey only cost $19.40! I roasted a turkey and made gravy, had leftovers for sandwiches and casseroles, and ended up with six quarts of silky, savory bone broth for future soups.
You guys, this bone broth is luscious and rich. The collagen in the bones breaks down as it cooks, releasing natural gelatin. It’ll set up like jelly in the fridge but melt right back down into golden goodness when you heat it.
It’s loaded with nutrients and comforting flavor — so whatever you do, don’t throw away that turkey carcass!
How to Make Convection Oven Turkey in a Bag
Don’t be thrown off by the number of steps. I broke it down for someone who has never made a turkey before. You’re going to love this deliciously simple holiday roast turkey!
- Remove the turkey from the freezer five days ahead of roasting day (that means Sunday if you’re roasting it on Thanksgiving Day or Saturday if you’re making it a day ahead) and thaw it in a roasting pan, a large bowl or on a baking sheet at the lowest level of your refrigerator.
- Move your oven rack into the second-from-the-bottom slot in your oven.
- Preheat oven to Convection 325° F.
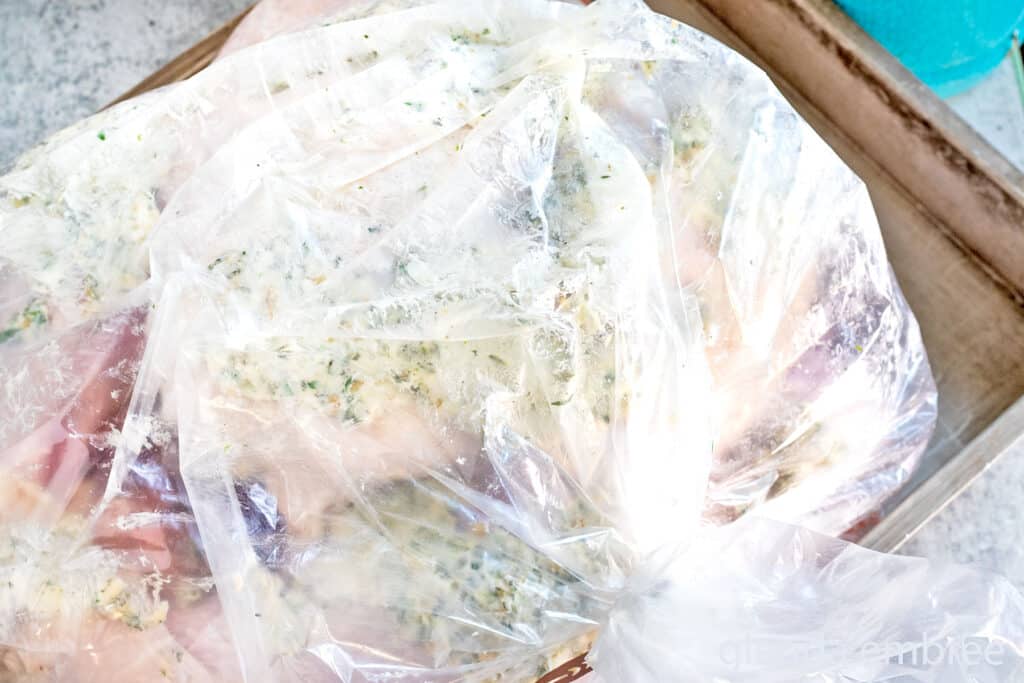
- Prep the roasting bag. Scoop 1 Tablespoon of flour into the bag, twist the top closed and hold it tight while you give it a good shake to coat the inside of the bag with flour. The manufacturer states that it helps keep the bag from bursting during cooking. And I personally believe it also helps emulsify the fats and juices in the bag for silky-smooth gravy. Plus, it helps keep the bag from sticking to the turkey.
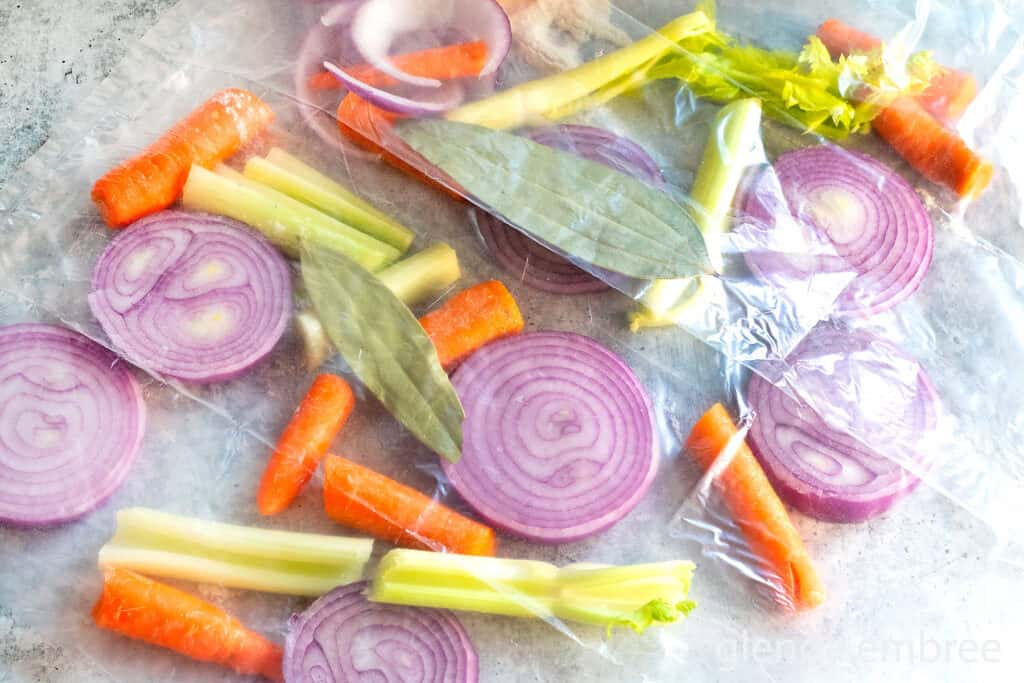
- Cut the onions into thick, round slices about 3/8 to 1/2-inch thick. Chop carrots and celery stalks into 2 or 3 pieces.
- Lay the sliced vegetables and bay leaves in a single layer on the bottom of the bag.
- Mix up the compound butter. Stir together softened butter, minced garlic, parsley, rosemary, thyme, sage and black pepper. Set aside until the turkey is ready to be prepared. Compound butter can be made up to three days in advance. Just remember to bring it to room temperature before prepping the turkey.
Prep the Turkey

- Remove the giblets and neck from the turkey cavity. I discard the giblets and neck. Some like to use them for making gravy. I don’t care for the flavor, but you do what’s right for you and your family.
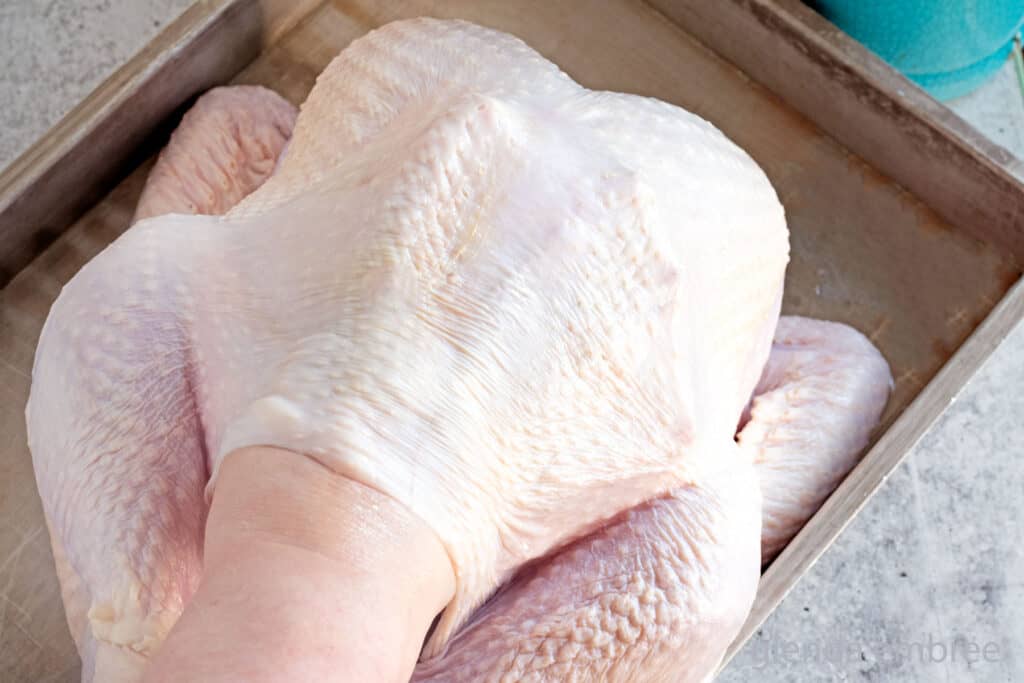
- Pat the turkey dry, inside and out, with paper towels. It will take a lot of paper towels, but you do want to make the effort. The drier the skin, the crispier it will cook up. Plus it is difficult to get the butter to stick if the skin is not dry.
- Separate the skin from the turkey breast by gently running your fingertips under the skin, creating a space between the skin and the meat. This may take a couple of minutes. Work slowly and gently so you don’t tear the skin. You can skip this step and just butter the outside of the skin. However, if you take the time for this extra step, the butter and herbs seep into the meat and flavor it so deliciously.
- Lift the turkey through the opening in the roasting bag and set it on top of the vegetables.
- Use your hands to smooth about 1/3 cup of the compound butter underneath the skin and over the surface of the turkey breast meat.
- Rub the remaining herb butter over the top of the skin and over the rest of the entire bird. Be sure to keep the skin dry by patting it with paper towels as you work so that the butter will adhere
- Use the enclosed oven-proof zip strip to close the bag tightly.
- Use the tip of a sharp knife to poke six small vent holes around the top of the bag, allowing a small amount of steam to escape as your turkey roasts.
Roast the Turkey in a Bag
- Place the roasting bag into the pan you’ll be using, then carefully slide the pan with the bagged turkey onto the rack you lowered earlier, in your preheated oven.
- Roast a 25-pound turkey in a bag on the convection setting at 325°F for about 3 to 3½ hours. That’s just a ballpark for one size of bird, though. When using a roasting bag, plan for 8–10 minutes per pound at 325°F on convection.
- To estimate your cook time, multiply your turkey’s weight by 8 minutes per pound. For example, a 25-pound turkey would take roughly 200 minutes (or 3 hours and 20 minutes). Set a timer, but start checking for doneness 45 minutes to an hour before your estimated time—every oven cooks a little differently. Since overcooked turkey can turn out dry, check the temperature every 15 minutes or so once you reach that point.
- Remember, poultry should always be cooked to temperature, not by time. Estimating time helps you know when to start roasting your turkey, but it can’t measure doneness. Your turkey is done when it reaches an internal temperature of 165°F in the thickest part of the thigh. I also like to check the thickest part of the breast to be sure everything is perfectly cooked.
- Be sure the tip of your thermometer doesn’t rest against a bone while you test the temperature. Bones will read at a hotter temperature than the meat and give you a false reading for doneness of your turkey.
- If you prefer your turkey well done, but still moist (like me), with no tinge of pink in the drippings or juices, it will need to cook beyond safe temperatures, to around 180°. It is a matter of personal preference. You do you.
Rest and Serve
Remove your convection oven turkey from the oven and allow it to rest in the bag for at least 30 minutes before slicing. This gives the juices time to redistribute through the meat, keeping every bite tender and flavorful.
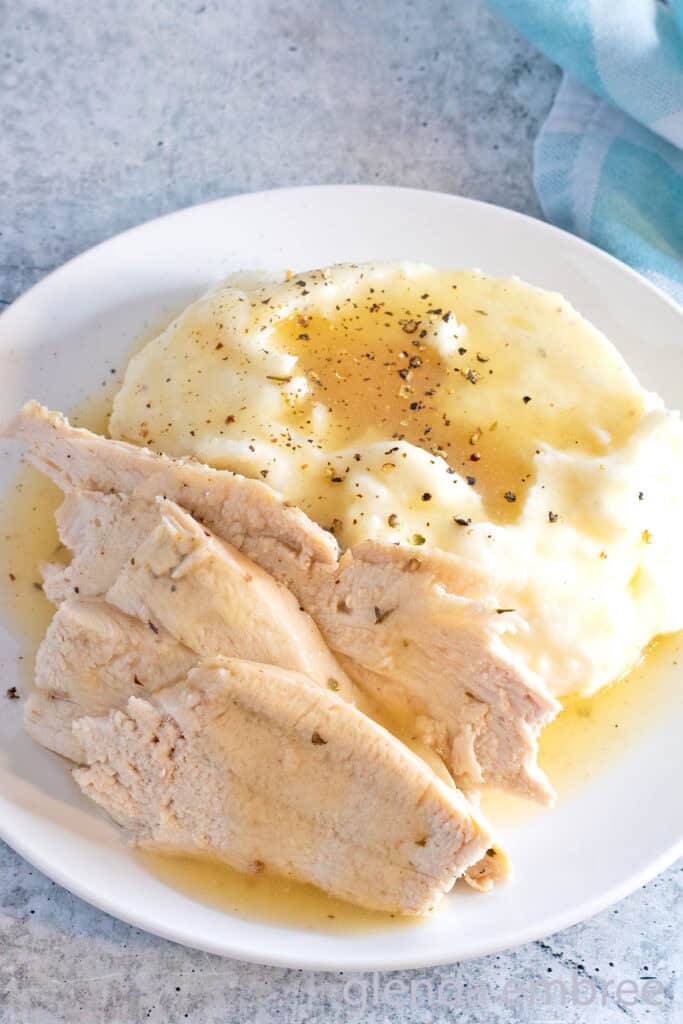
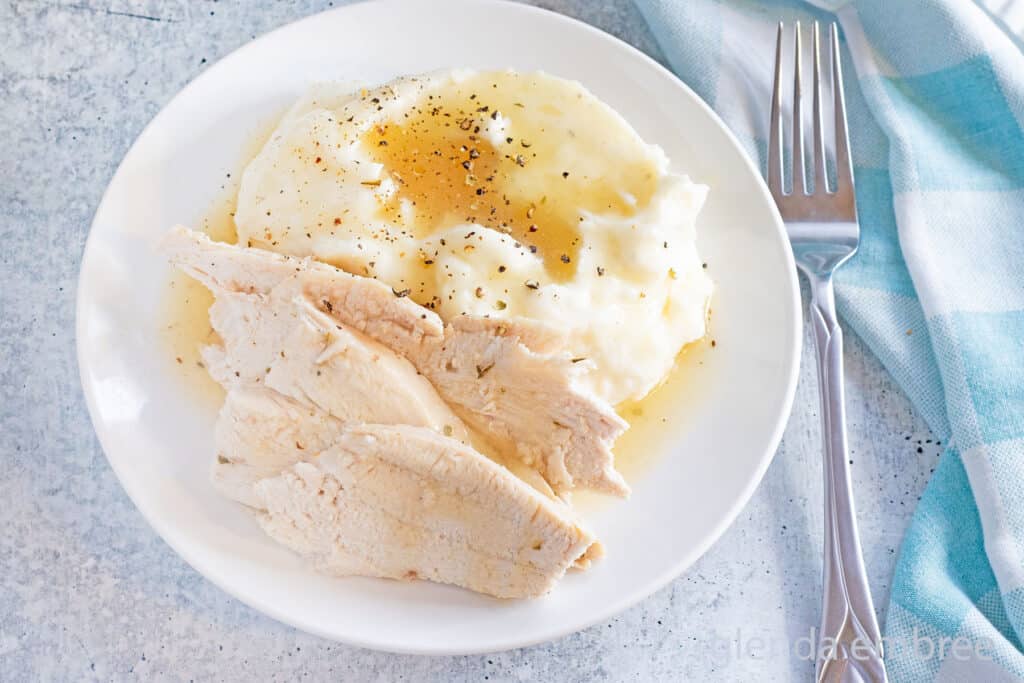
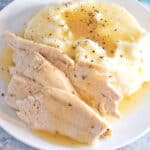
Then, simply transfer the turkey to a cutting board, slice it, and arrange it on a platter with your favorite sides (or store it for tomorrow as discussed previously). Drizzle with some of that golden gravy, and you’ve got a holiday feast that’s every bit as beautiful as it is delicious.
Bringing It All Together
Cooking a turkey doesn’t have to be stressful or expensive. With a convection oven and an oven bag, you can create a gorgeous, juicy roast that tastes like you spent all day fussing over it — when really, you didn’t.
You’ve stretched your grocery dollars, made a meal that will feed your family for days, and even turned that humble turkey carcass into rich, homemade bone broth worth its weight in gold. That’s not just dinner — that’s smart, satisfying home cooking at its best.
So pour the gravy, gather everyone around the table, and enjoy that first bite. You did it — a golden, juicy, budget-friendly turkey worthy of every holiday tradition and every cozy Sunday supper to come.
Happy cooking, friend — and may your kitchen always smell like home.
The Recipe
Want to Save This Recipe?
Enter your email & I’ll send you the link so you always have it at your fingertips. Plus, I’ll send a collection of easy recipes to your inbox every Friday!
By submitting this form, you consent to receive emails from Glenda Embree.
Convection Oven Turkey in a Bag
- Total Time: 0 hours
- Yield: 18 to 20 servings 1x
- Diet: Gluten Free
Description
Juicy, golden turkey the easy way! Step-by-step guide for convection oven turkey in a bag. No stress, delicious perfection. Get the recipe.
Ingredients
- 1 Whole Turkey (20 to 25 lbs.), thawed
For Compound Butter
- 1 cup salted butter, softened
- 4 Tablespoons mixed fresh herbs (4 teaspoons if using dry.) I mixed sage, parsley, thyme & rosemary.
- 1 Tablespoon minced garlic
- 1 teaspoon salt
- 1 teaspoon black pepper
For the Roasting Bag
- 1 Tablespoon flour
- 2 lg. red onions, cut into thick slices
- 3 lg. carrots
- 2 stalks celery
- 2 bay leaves
Instructions
- Remove the turkey from the freezer five days ahead of roasting day (that means Sunday if you’re roasting it on Thanksgiving Day or Saturday if you’re making it a day ahead) and thaw it in a roasting pan, a large bowl or on a baking sheet at the lowest level of your refrigerator.
- Move your oven rack into the second-from-the-bottom slot in your oven.
- Preheat oven to Convection 325° F.
- Prep the roasting bag. Scoop 1 Tablespoon of flour into the bag, twist the top closed and hold it tight while you give it a good shake to coat the inside of the bag with flour. The manufacturer states that it helps keep the bag from bursting during cooking. And I personally believe it also helps emulsify the fats and juices in the bag for silky-smooth gravy. Plus, it helps keep the bag from sticking to the turkey.
- Cut the onions into thick, round slices about 3/8 to 1/2-inch thick. Chop carrots and celery stalks into 2 or 3 pieces.
- Lay the sliced vegetables and bay leaves in a single layer on the bottom of the bag.
- Mix up the compound butter. Stir together softened butter, minced garlic, parsley, rosemary, thyme, sage and black pepper. Set aside until the turkey is ready to be prepared. Compound butter can be made up to three days in advance. Just remember to bring it to room temperature before prepping the turkey
- Remove the giblets and neck from the turkey cavity. I discard the giblets and neck. Some like to use them for making gravy. I don’t care for the flavor, but you do what’s right for you and your family.
- Pat the turkey dry, inside and out, with paper towels. It will take a lot of paper towels, but you do want to make the effort. The drier the skin, the crispier it will cook up. Plus it is difficult to get the butter to stick if the skin is not dry.
- Separate the skin from the turkey breast by gently running your fingertips under the skin, creating a space between the skin and the meat. This may take a couple of minutes. Work slowly and gently so you don’t tear the skin. You can skip this step and just butter the outside of the skin. However, if you take the time for this extra step, the butter and herbs seep into the meat and flavor it so deliciously.
- Lift the turkey through the opening in the roasting bag and set it on top of the vegetables.
- Use your hands to smooth about 1/3 cup of the compound butter underneath the skin and over the surface of the turkey breast meat.
- Rub the remaining herb butter over the top of the skin and over the rest of the entire bird. Be sure to keep the skin dry by patting it with paper towels as you work so that the butter will adhere
- Use the enclosed oven-proof zip strip to close the bag tightly. Prep the Turkey.
- Use the tip of a sharp knife to poke six small vent holes around the top of the bag so a small amount of the steam can escape as your turkey roasts.If you prefer your turkey well done, but still moist (like me), with no tinge of pink in the drippings or juices, it will need to cook beyond safe temperatures, to around 180°. It is a matter of personal preference. You do you.
- Roast a 25-pound turkey in a bag on the convection setting at 325°F for about 3 to 3½ hours. That’s just a ballpark for one size of bird, though. When using a roasting bag, plan for 8–10 minutes per pound at 325°F on convection.
- To estimate your cook time, multiply your turkey’s weight by 8 minutes per pound. For example, a 25-pound turkey would take roughly 200 minutes (or 3 hours and 20 minutes).
- Set a timer, but start checking for doneness 45 minutes to an hour before your estimated cooking time ends—every oven cooks a little differently. Since overcooked turkey can turn out dry, check the temperature every 15 minutes or so once you reach that point.
- Remember, poultry should always be cooked to temperature, not by time. Estimating time helps you know when to start roasting your turkey, but it can’t measure doneness. Your turkey is done when it reaches an internal temperature of 165°F in the thickest part of the thigh. I also like to check the thickest part of the breast to be sure everything is perfectly cooked.
- Be sure the tip of your thermometer doesn’t rest against a bone while you test the temperature. Bones will read at a hotter temperature than the meat and give you a false reading for the doneness of your turkey.
- If you prefer your turkey well done, but still moist (like me), with no tinge of pink in the drippings or juices, it will need to cook beyond safe temperatures, to around 180°. It is a matter of personal preference. You do you.
- Remove your convection oven turkey from the oven and allow it to rest in the bag for at least 30 minutes before slicing.
Notes
Must-Have Tools for Making Convection Oven Turkey in a Bag
- Turkey Roasting Bag: I buy the Reynolds brand bags at Walmart, but grab whatever brand is available to you. Be certain you don’t grab just plain bags. Roasting bags will say “oven-safe” on the outside of the box. They also come in two sizes. Get the large size that can accommodate a turkey.
- Roasting Pan: Some people use the large disposable foil roasting pans to save on clean-up, but I find that they are too flimsy for the large turkeys I roast. Let the size of your turkey determine the pan size you need. I recommend an enameled roaster with handles [affiliate link] or a half-sheet cake pan [affiliate link] if you’re cooking a 20- to 25-lb bird.
- Meat Thermometer: It’s always important to use a meat thermometer [affiliate link] and cook meat to USDA safe internal temperature recommendations rather than relying solely on a recipe’s suggested cooking time.
MAKING and SLICING the TURKEY AHEAD
- Roast the turkey up to 24 hours in advance.
- Slice the turkey after it has rested for 30 minutes and arrange it in the pan you will reheat it in tomorrow.
- Place the turkey carcass and skin in a large (12 qt.) stock pot and set aside.
- Strain the veggies and any leftover debris out of the turkey pan drippings.
- Reserve 6 cups of the drippings for gravy and pour the rest over the turkey. If you don’t have enough drippings to also pour some over the sliced turkey, you can use 2 cups of chicken broth, or wait until you have some turkey bone broth to use a little later.
- Cut 1/2 cup butter into thin pats and arrange them across the top of the turkey. Seal the pan tightly with foil. Refrigerate until the day you will serve it.
- Two hours before serving time, remove the roasting pan of sliced turkey from the fridge and allow it to come to room temperature on the counter for one hour.
- Preheat the oven to 350°.
- One hour before serving, place the tightly covered roasting pan in the oven and reheat the turkey for 45 minutes to an hour, until it is hot and a meat thermometer registers its temperature at 165°.
- Remove from the oven and serve.
To Make Turkey Bone Broth from the Carcass
Place the turkey carcass (every bone and all the skin) in the bottom of a large (12 quart) stock pot [affiliate link] and add:
- 1 quartered red onion
- 3 carrots cut into chunks
- 2 celery stalks chunked up
- 2 Tablespoons minced garlic
- 2 Tablespoons apple cider vinegar
- 2 teaspoons salt
- 1 teaspoon black pepper
- a bay leaf
Fill the pot with water until everything is completely submerged. Bring it to a boil over high heat, then reduce to a simmer. Let it gently bubble away for 6 to 10 hours, depending on your schedule.
- Prep Time: 15 minutes
- Cook Time: 2.5 hours
- Category: Main Dish, Turkey
- Method: Convection Oven
- Cuisine: American
Not In the Mood for Turkey?
Try These Easy Holiday Main Dishes Instead
- Baked Ham with Cranberry Glaze, the Best Ham I’ve Ever Eaten
- Best Crock Pot Ham Recipe, 3-Ingredient Simple
- Easy Maple Mustard Slow Cooker Pork Loin
- Mississippi Pot Roast Recipe
- Stove Top Stuffing Meatloaf: a Favorite Slow Cooker Meatloaf Recipe
- Lipton Onion Soup Meatloaf Recipe, 5-Ingredient Weeknight Dinner


About Glenda
I believe cooking from scratch doesn’t have to be complicated and that YOU can do it. My simple recipes, tutorials, and cooking tips will help you get weeknight dinners on the table with less stress. Forget takeout or the drive-thru. Let me show you how to make homemade easy. Read more...

