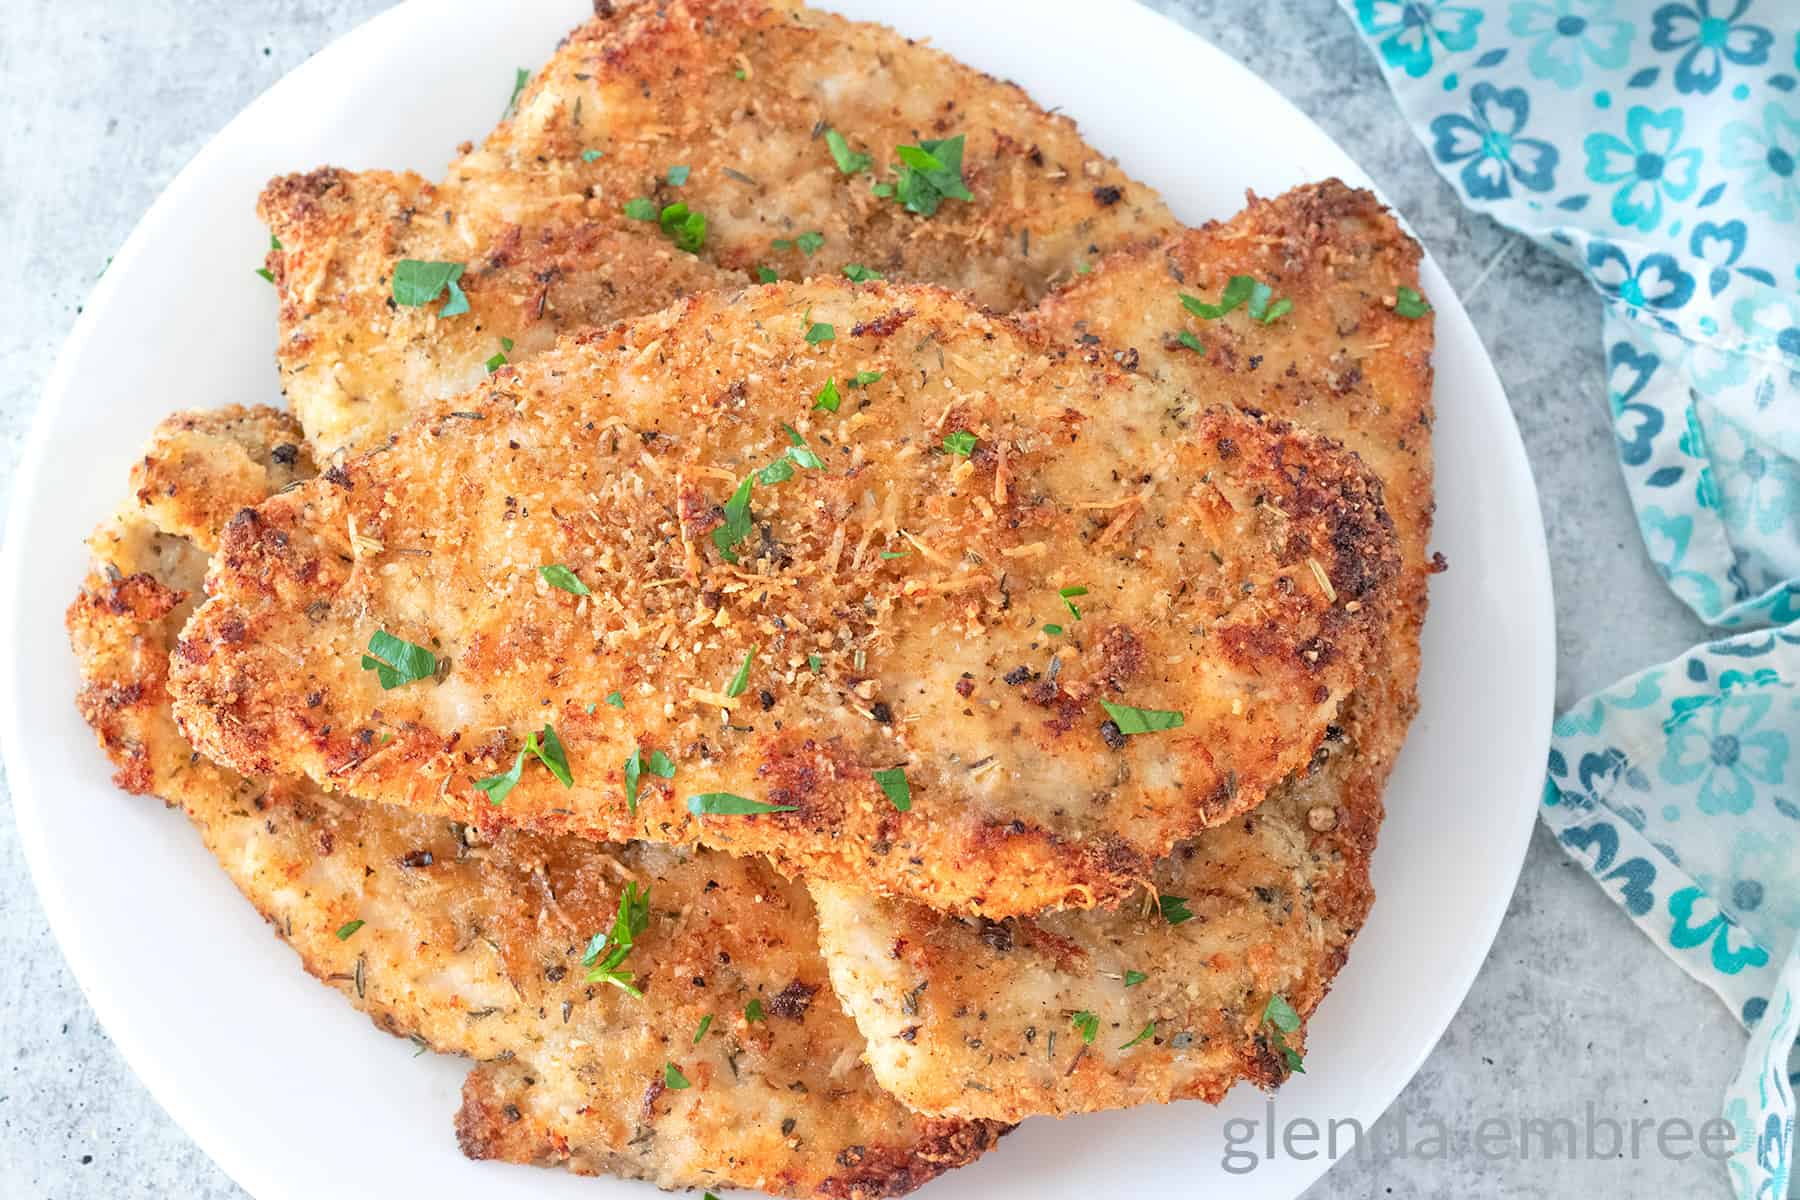
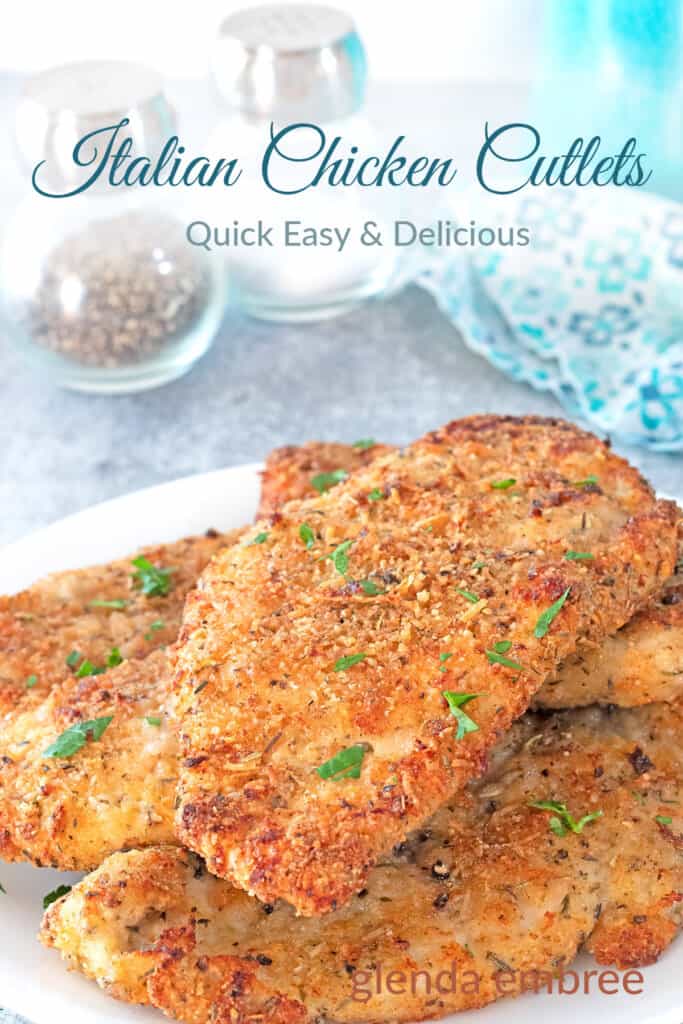
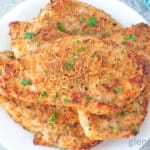
Italian Chicken Cutlets are deliciously tender, juicy, and crunchy, thinly sliced chicken breasts dredged in a scrumptiously flavorful breading.
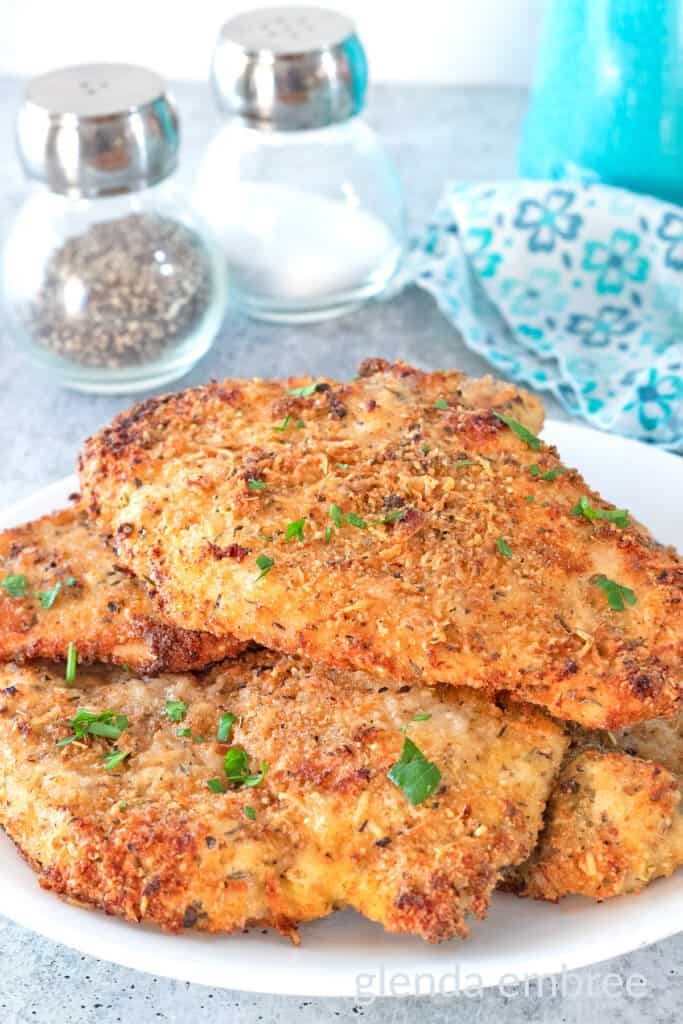
They taste delectably savory and herbaceous. This simple recipe makes a quick and easy dinner you’ll want to eat again and again.
This scrumptious chicken has quickly become a staple in my kitchen. Everyone loves the moreish Italian flavors, and it’s easy to merge the flavorful chicken into another recipe, creating a completely different dish in minutes.
Versatility and being able to cook quickly make my Italian Chicken cutlets a top pick in my kitchen!
Because they’re pounded thin and look quite large on a plate, the cutlets are a money-saving option that tricks the eye into thinking it’s have a much larger portion. The human brain is so funny. The diner leaves the table satisfied and full of veggie sides, and you save on the cost of meat.
Plus, these juicy chicken cutlets can be pan-fried, air-fried, or cooked in your convection oven for the same satisfyingly flavorful and crispy results. Choose the option most convenient for you.
You’re gonna flip for this delicious Italian chicken cutlet recipe!
What Are Chicken Cutlets?
Just like in my Air Fryer Chicken Cutlets recipe, these seasoned chicken cutlets are made by slicing a whole boneless, skinless chicken breast in half horizontally and then pounding it to an even thickness.
Thinly sliced chicken breast cooks quickly, making this recipe an excellent choice for quick and easy weeknight meals.
Chicken Cutlets vs Chicken Tenderloins
Don’t confuse cutlets and tenderloins. While both are white meat taken from the breast area of the bird, cutlets are thinly cut chicken breast slices. Chicken tenderloins come from a thin muscle just underneath the chicken breast.
Like the tenderloins in my Crockpot Turkey Tenderloins, the chicken tenderloin is the most tender piece on the bird. But it is significantly smaller than chicken breast and typically more expensive.
Origins of Cutlets in Cooking
The term cutlets started popping up in English-language cookbooks in the late 1700s. They referenced thin cuts of veal, and the recipes were most often from regions in Italy or Germany.
Eventually, other European countries began to utilize this method of butchery for pork cutlets and, later, for chicken.
Though the origins are European, chicken cutlets are extremely popular in Canadian and American cooking today.
The Ingredients
The six simple pantry ingredients needed for Italian Chicken Cutlets mean you can have this tasty chicken whenever you’re in a hurry to get dinner on the table. The ingredients are very likely staples in your kitchen already.
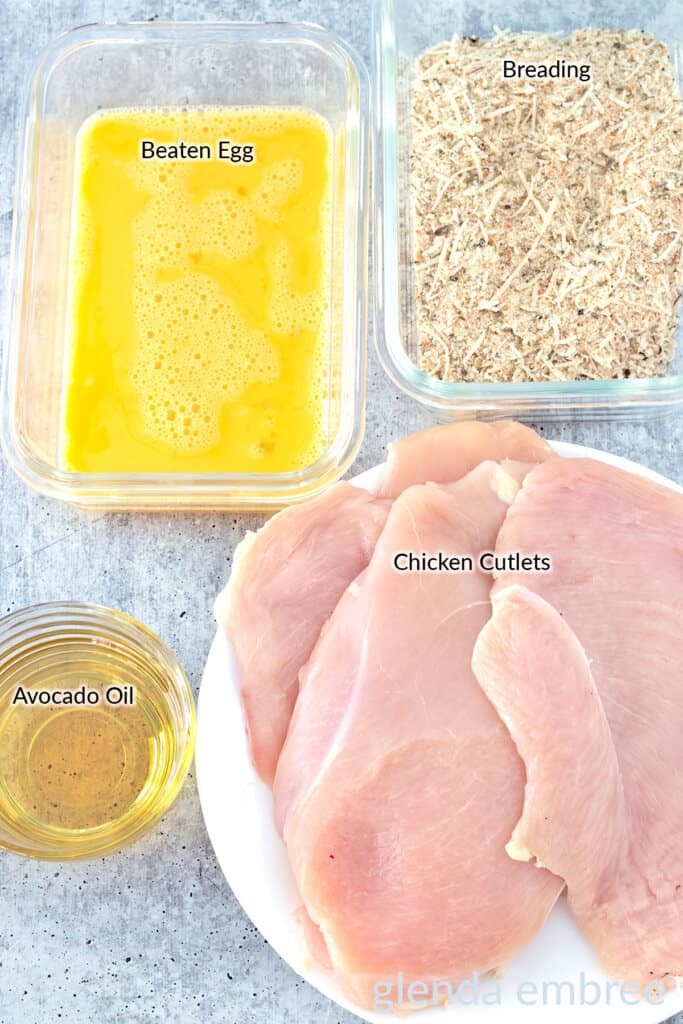
For the Chicken:
- 2 large boneless skinless chicken breasts (or 4 chicken cutlets)
- 2 eggs
- avocado oil, extra virgin olive oil or your preferred vegetable oil (for cooking)
For the Breading:
- bread crumbs (white or whole wheat, regular or Panko)
- Italian Seasoning
- Parmesan Cheese, finely grated
- 1/2 teaspoon each of salt and black pepper
How to Make Italian Chicken Cutlets
At first glance, this post looks long, and I don’t want to scare you into thinking that chicken cutlets take a long time to prep. They don’t. They’re very easy.
I’ve written the post in a way that gives all the details a novice cook will need and to answer any questions that arise.
But, experienced cooks can Jump to the Recipe immediately and skip over all the step-by-step explanations.
This is one of the easiest thinly sliced chicken breast recipes you will ever make. I would classify it as a great beginner recipe. Writing it out makes it look like a lot to do, but it’s literally completed in minutes.
Once the technique is mastered, these chicken cutlets can be creatively used in a variety of different recipes, like my Easy Chicken Parmesan. You’ll love it!
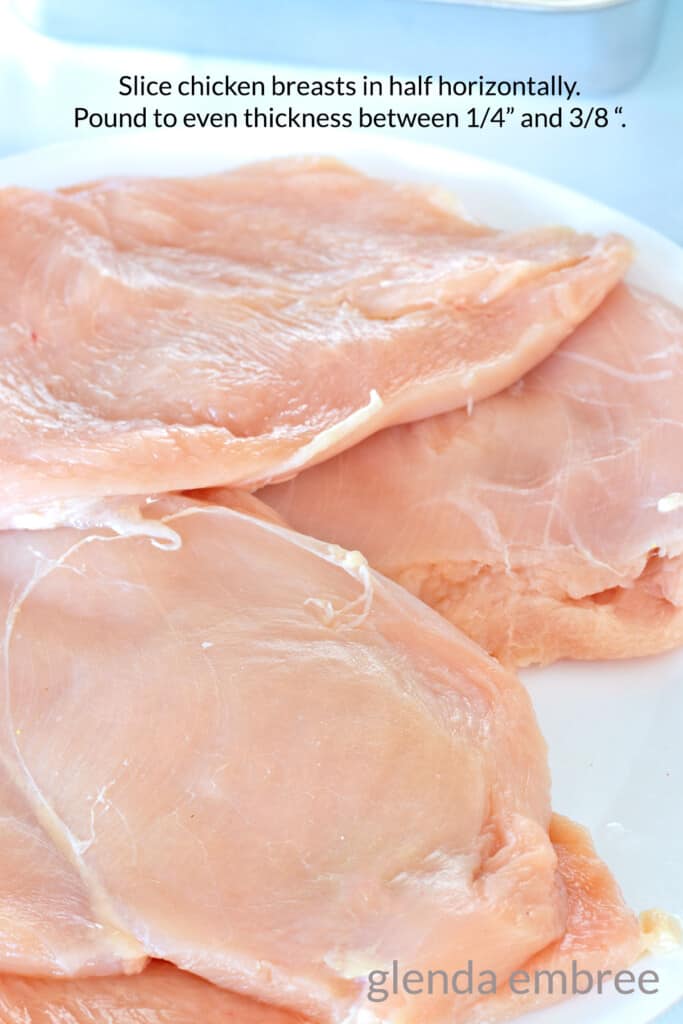
1. How to Prep the Boneless Chicken Breasts
Cutting
If you purchased chicken cutlets already prepped, you can skip this step. But if, like me, you weren’t willing to pay up to double for someone else to slice each chicken breast in half horizontally and pound it to an even thickness, you’ll need to do that first. It’s easy.
Use a sharp knife to slice each of your large chicken breasts in half horizontally, as if you were going to butterfly them.
Take it a step further than butterflying, though, and keep cutting all the way through the center of the piece of chicken. Each breast ends up as two thinner pieces. For great detailed instructions on how to cut chicken breasts, check out this post by my friend Jere’ at One Hot Oven.
Even sliced in half, the chicken breast will still be thicker at one end than the other. We’re going to fix this so the chicken cooks quickly, but also evenly.
Pounding
Some people like to place chicken pieces between sheets of parchment paper or plastic wrap to pound them to an even thickness. I like a gallon zip-top bag. It’s sturdier and doesn’t tear, so I can reuse it repeatedly to complete all the pieces.
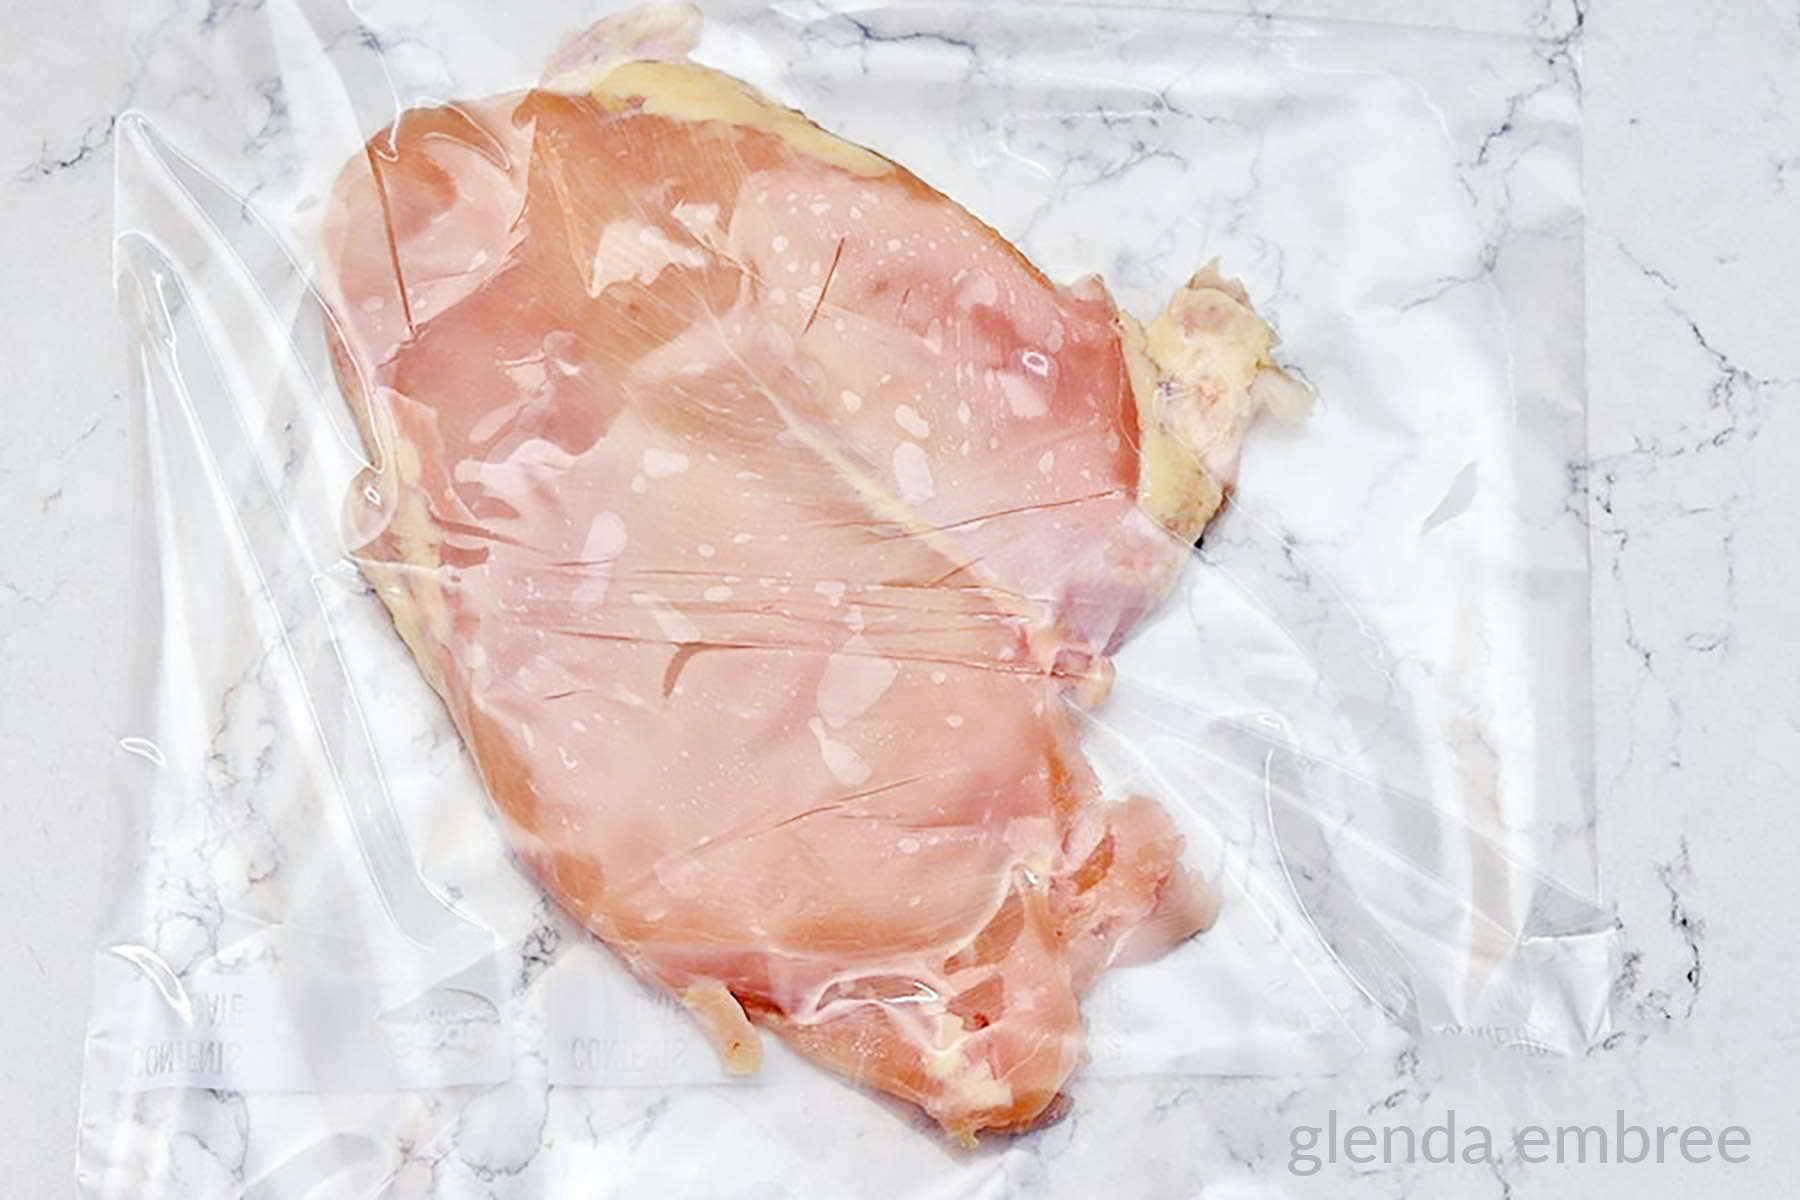
Simply slide each piece of chicken into the ziptop bag. You don’t need to seal the end.
Use a meat mallet, rolling pin, heavy pan, or skillet to pound the cut chicken breast pieces to an even 1/4-inch thickness. If they are slightly thicker (no more than 3/8 inch) you’ll be fine. You want the thickness of all the cutlets to be as consistent as possible from end to end so they cook evenly.
I used to use a rolling pin to pound out thinly cut chicken breasts until I discovered this new meat mallet.
The Meat Mallet
If you have an old-style meat mallet with a square head, only use the flat side when pounding chicken.
The ridged side is too rough for the delicate flesh of thinly cut chicken breasts and will begin to shred it as it gets thinner. Even pressure with the flat side is all you need.
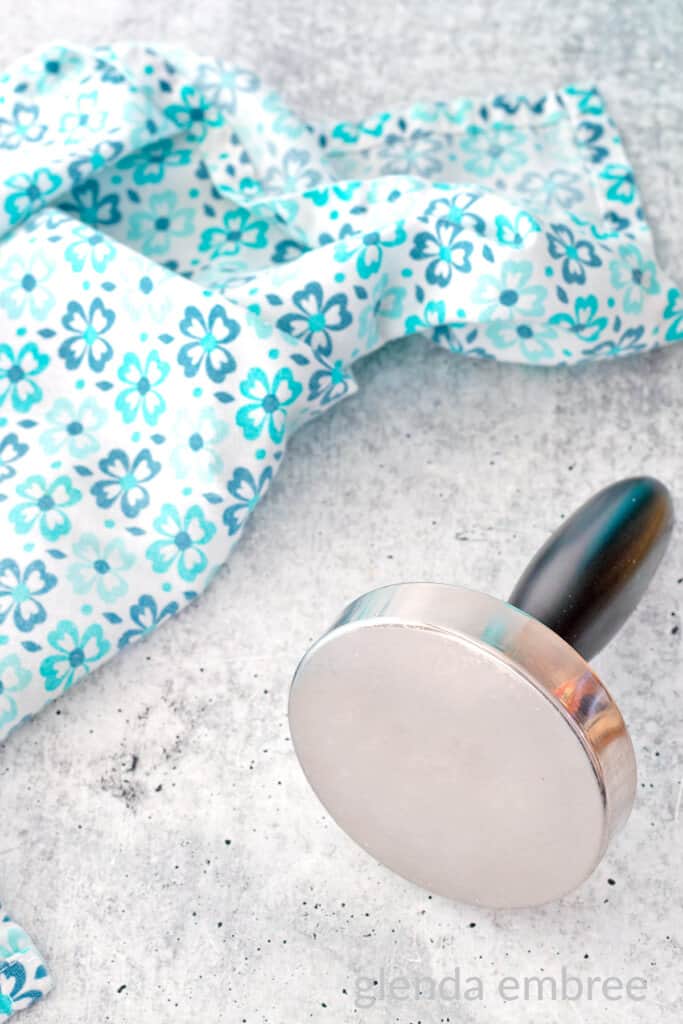
I have been using this new flat, round meat mallet [affiliate link], and I absolutely love it, especially for chicken. It’s quite heavy, and the handle is perfectly centered, so applying the pressure I need is easy.
It’s also flat, so it doesn’t tear up the meat as I tenderize and pound it thin.
Drying
Once the chicken is sliced and pounded to an even thickness across each thinly cut chicken breast, it is important for the meat to be as dry as possible before breading it.
Use a paper towel to blot up any excess moisture on the surface of each of your cutlets.
2. Seasoning the Chicken
If it is your personal preference, you can salt and pepper both sides of your chicken cutlets before breading them.
Keep in mind, however, the salt will begin pulling more moisture to the surface of the chicken pieces, making it difficult for the breading to stick.
The Parmesan cheese also contains salt. I recommend adding the cheese, Italian seasoning and a little black pepper to the bread crumbs. Mix it and taste. Add salt to the breadcrumb mixture if needed.
Because the cutlets are so thin, my favorite way to season them is in the breading. It’s what I recommend.
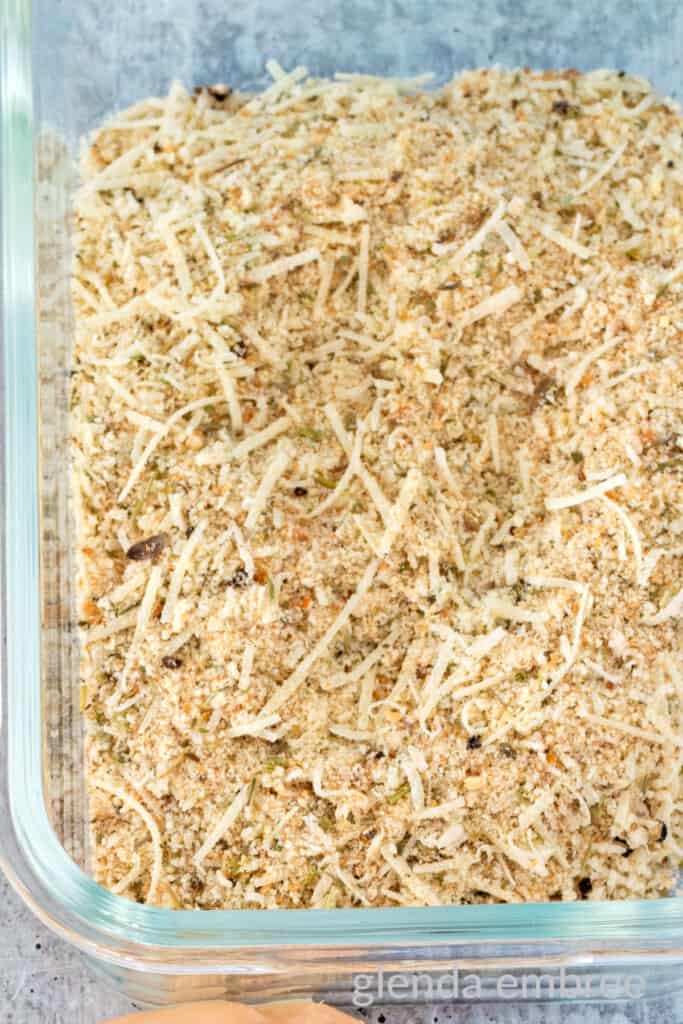
3. Mix Up the Breading
Mix the bread crumbs you’ve chosen with the Italian seasoning, freshly grated Parmesan cheese, salt and black pepper to create the breadcrumb mixture for your cutlets.
Choosing the Breadcrumbs
Use your choice of breadcrumbs based on what’s available where you are and your own tastes. You can buy them or use homemade. Both work equally well.
I used plain bread crumbs.
I haven’t tried these with Panko breadcrumbs yet, but I’m guessing it would be fabulous. Panko breadcrumbs should work just as well as regular breadcrumbs in this easy recipe.
You can also buy seasoned Italian breadcrumbs or seasoned breadcrumbs. Still, in my opinion, the flavor of these delicious Italian chicken cutlets is better and more pronounced when you add your own fresh cheese and seasonings during cooking.
Grate Your Own Cheese
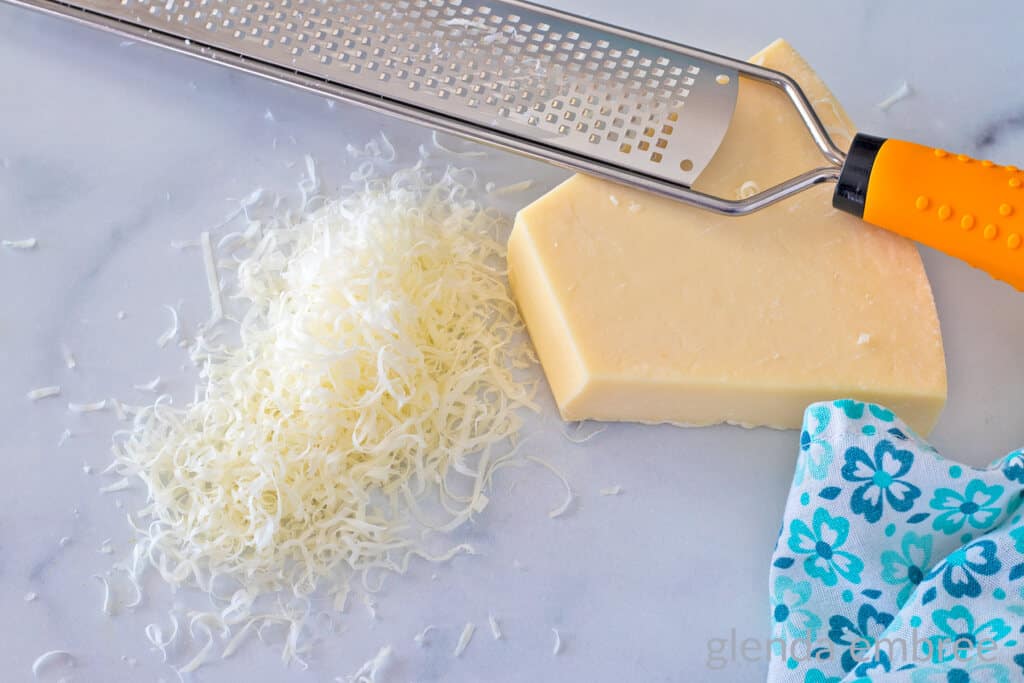
The well-seasoned Italian bread crumbs are where the flavor happens in this chicken cutlet recipe. Grating your own fresh Parmesan will greatly intensify that flavor. It will also allow you to grate the cheese very finely.
I prefer to use my microplane grater [affiliate link] when grating cheese for breading. It gives much finer, thinner shreds that adhere easily to the meat being breaded. If you only have a four-sided box grater, then use the smallest size grate that it has.
4. Breading the Cutlets
Beat the eggs in a shallow dish or plate that’s big enough to hold one cutlet.
Spread your seasoned breadcrumbs evenly in a large shallow dish or on a plate.
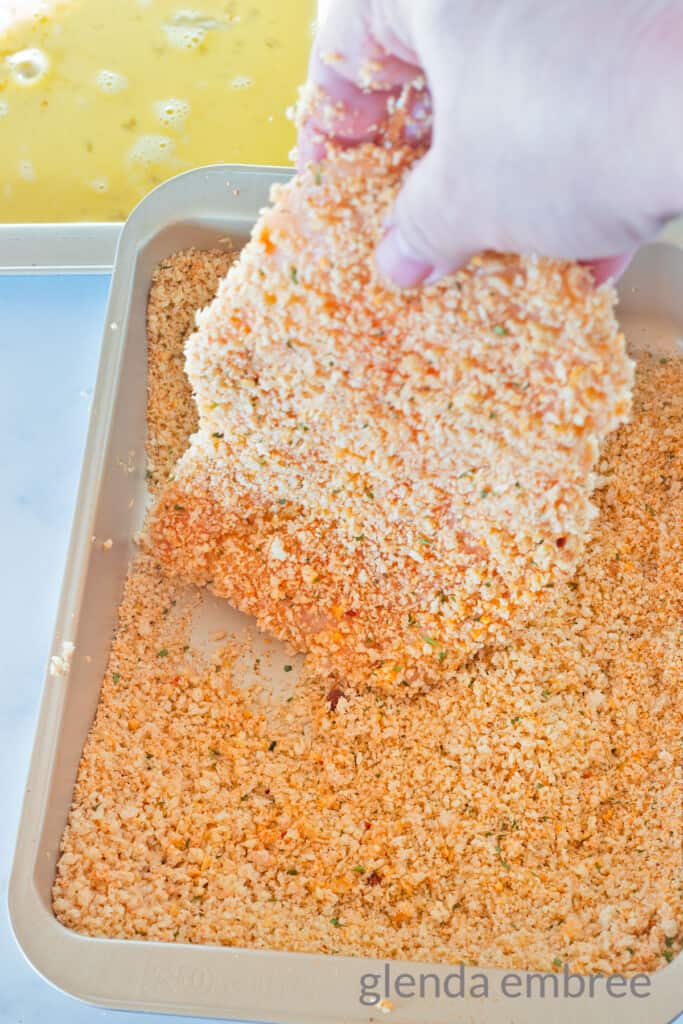
Dip a cutlet into the beaten egg, coating it evenly on both sides, and then hold it over the dish for two or three seconds to allow any excess to drip off.
Now, press the cutlet into the bread crumb mixture, coating each side evenly. Set the cutlet aside on a plate or tray while you use your Italian breadcrumbs to coat each of the other cutlets. (This recipe makes enough breading to coat four cutlets without much leftover breading.)
4. Cooking the Cutlets
Once all your cutlets are breaded, I recommend pan-frying or using an air fryer for the fastest and most crispy cutlets. I typically air-fry mine.
You can also bake the cutlets in the oven. But you need to be careful not to dry them out with too long a cooking time.
To Pan Fry:
- Set up a wire rack with paper towels underneath it. Leave it on the counter next to where you are frying.
- Cover the bottom of a cast iron or heavy-bottomed skillet with 1/8 inch of avocado or extra virgin olive oil.
- Heat the skillet to medium heat. The oil will be ready if you drop a crumb of breading into it, and it sizzles.
- When the oil is hot, place two or three cutlets into the hot skillet (whatever your skillet will hold in one layer) and fry on medium heat until both sides are golden brown.
- NOTE: TESTING CHICKEN FOR DONENESS – This will likely take about 4 or 5 minutes per side. But cooking time will depend on your stove and how thick you made your chicken cutlets.
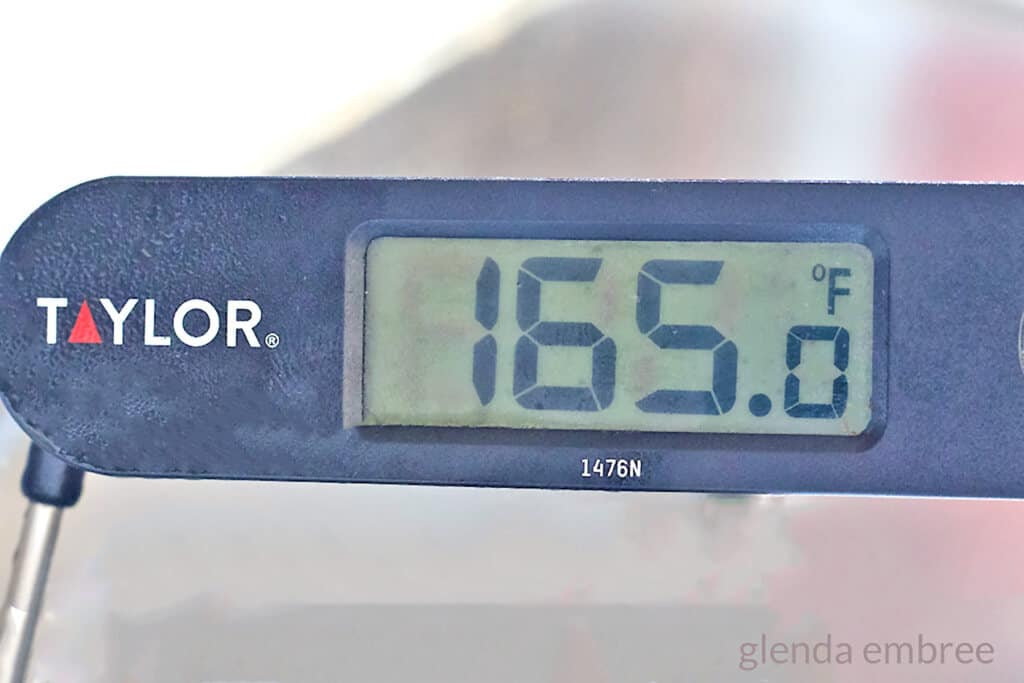
- The USDA recommends cooking chicken to an internal temperature of 165°, taking the temp at the center of the thickest part.

- Remember that your chicken will continue to cook from residual heat even after it is out of the skillet. I usually shoot for anything 160° or above and let the chicken rest for a minimum of 5 minutes before serving, bringing it to a safe temperature without drying it out.
- You can also cut into a chicken cutlet to check the doneness. When the chicken’s done, the color will be white and opaque, with no hint of pink, and the juices will run clear. You will get a feel for this the more times you make chicken and be able to easily tell when yours is fully cooked.
- Remove the cutlets from the skillet and place them on your prepared rack when they are fully cooked. Some people like to drain their cutlets right on the paper towels, but that can actually make your breading soggy. After working to get it beautiful and crispy, that’s the last thing I want to do.
To Air Fry:
This is my preferred method of cooking chicken cutlets, but I have a full-oven air fryer to cook them all at once. If you have a small countertop air fryer, that won’t be as good an option for cooking multiple cutlets.
If you have a small countertop air fryer, you may only be able to cook one, or possibly two, cutlets at a time. I recommend the skillet or oven method over a small air fryer if you cook more than two cutlets. For one or two servings, a small air fryer is fine.
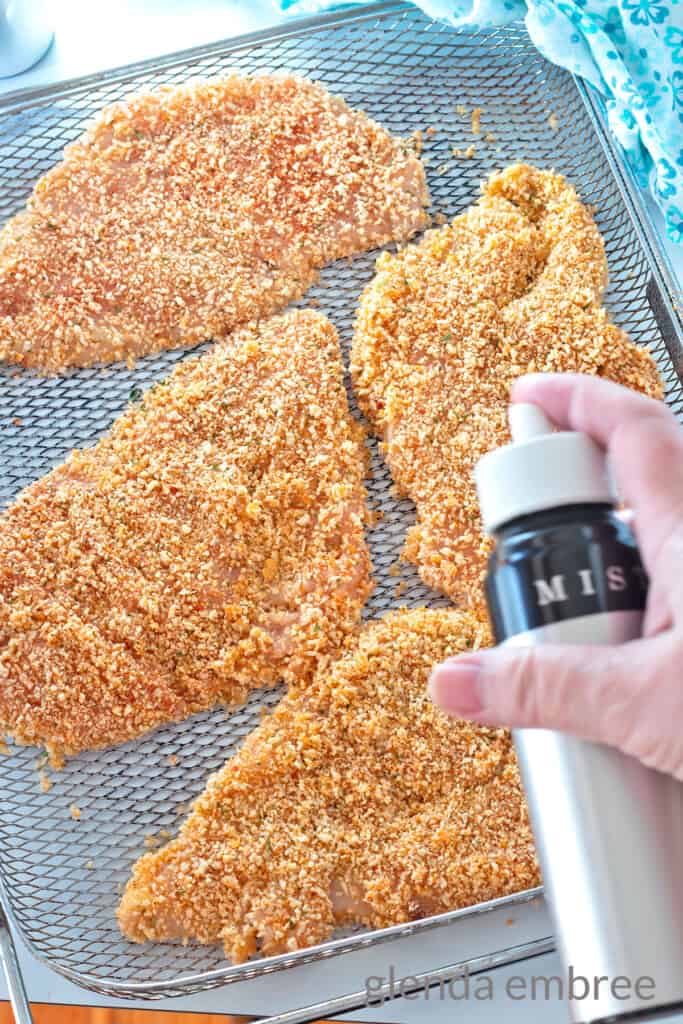
- Preheat the air fryer to 400°.
- Lightly spray the entire breaded surface of each cutlet with oil. Don’t use too much. You want enough oil to help the cutlet brown but not enough to saturate the breading.
- Place the prepped cutlets into the air fryer tray or basket.
- Place the basket into the air fryer (or oven air-fryer) and air fry for 4 to 8 minutes on the first side.
- Flip the cutlets and air fry for an additional 4 to 8 minutes.
- NOTE: I can only give you approximate times here. The exact cooking time will depend on your specific air fryer and how thick you made your chicken cutlets. Small air fryers will usually cook even more quickly than large ones.
- Follow the guidelines in the NOTE under pan-frying for tips on checking doneness and USDA temperature guidelines.
- Flipping halfway through the cooking time ensures the cutlets are crispy on both sides.
My friend Laura at Little House Big Alaska uses a similar method to make scrumptious Crispy Air Fryer Cod. If you’ve got fish instead of chicken, it’s an excellent choice for dinner!
In a Conventional Oven:
- Preheat the oven to 400°.
- Spray a baking sheet with the oil of your choice, or line the sheet with parchment paper.
- Place prepared cutlets on the baking sheet, ensuring they don’t touch so all edges can get crispy.
- Lightly spray the entire breaded surface of each cutlet with oil. Don’t use too much. You want enough oil to help the cutlet brown but not enough to saturate the breading.
- Place the baking sheet in the preheated oven and bake the Italian chicken cutlets for 10 to 12 minutes.
- Flip the cutlets over and bake for an additional 8 to 12 minutes until both sides are golden brown and the chicken is cooked through. Cooking times vary from oven to oven. Use the USDA guidelines for testing if your chicken is done, as noted in the section on pan-frying.
- Turn the oven to broil and crisp up the tops if the cutlets are not browned to your liking. Watch them carefully. 1 to 2 minutes will be enough. Anything more, and they may burn.
In a Convection Oven:
- Set the oven to convection bake at 400°.
- Place an oven-proof wire rack on top of a baking sheet and brush or spray the rack with the vegetable oil of your choice to help prevent sticking.
- Arrange your breaded cutlets on the wire rack, ensuring space between them and no edges are touching.
- Place the baking sheet in the preheated oven and bake the Italian chicken cutlets for 8 to 10 minutes.
- Flip the cutlets over and bake for 7 to 9 minutes more, until both sides are golden brown and the chicken is fully cooked. Cooking times vary from oven to oven. Use the USDA guidelines for testing if your chicken is done, as noted in the section on pan-frying.
- Turn the oven to broil and crisp up the tops if the cutlets are not browned to your liking. Watch them carefully. 1 to 2 minutes will be enough. Anything more and they may burn.
FAQs
Can I make Italian Chicken Cutlets ahead of time?
Absolutely! Making a big batch of chicken cutlets for the freezer just makes sense. You’ll be able to get meals on the table even more quickly! Freeze your breaded cutlets on a parchment-lined baking sheet or tray.
Once frozen, you can place the breaded cutlets into a zip-top bag and keep them in the freezer for 3 or 4 months.
Don’t thaw cutlets that come out of the freezer before cooking them. You’ll lose all the breading. Cook from frozen and expect to add two to 4 minutes to the cooking time.
I don’t recommend keeping breaded chicken cutlets in the fridge before cooking them, as the breadcrumbs will absorb a lot of moisture from the chicken, making it soggy and making it more difficult to crisp up in the oven or an air fryer.
How long will leftover cutlets keep in the fridge?
If you have cooked cutlets leftover after your meal, they can be kept in the fridge for three or four days.
The breading will soften as it absorbs some moisture, but it will toast up and get crisp again when warmed in the air fryer or in a skillet lightly sprayed with vegetable oil.
Cooked cutlets can also be frozen for 3 or 4 months. To reheat them, thaw the Italian chicken cutlets and then crisp them in the air fryer. You could also crisp them up in a skillet with a little hot oil in the bottom.
What to Serve with Italian Chicken Cutlets
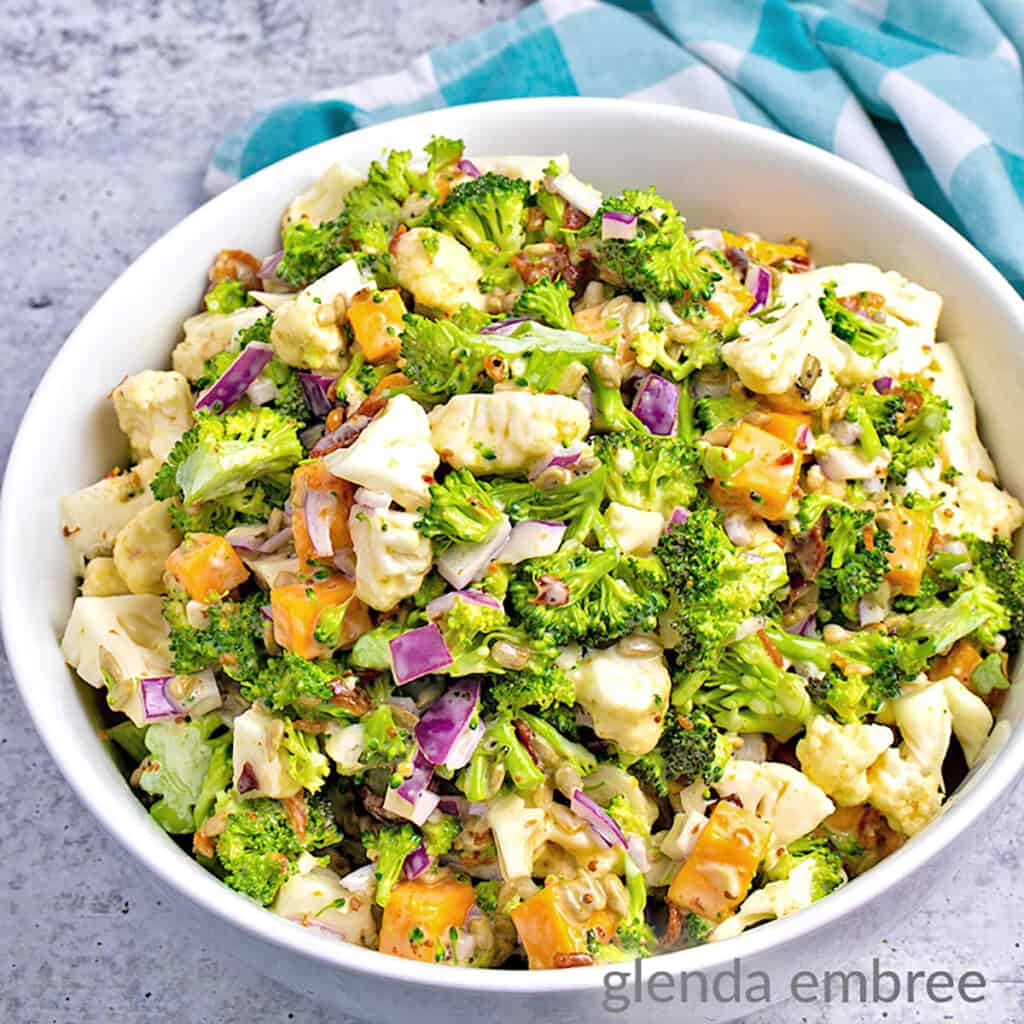
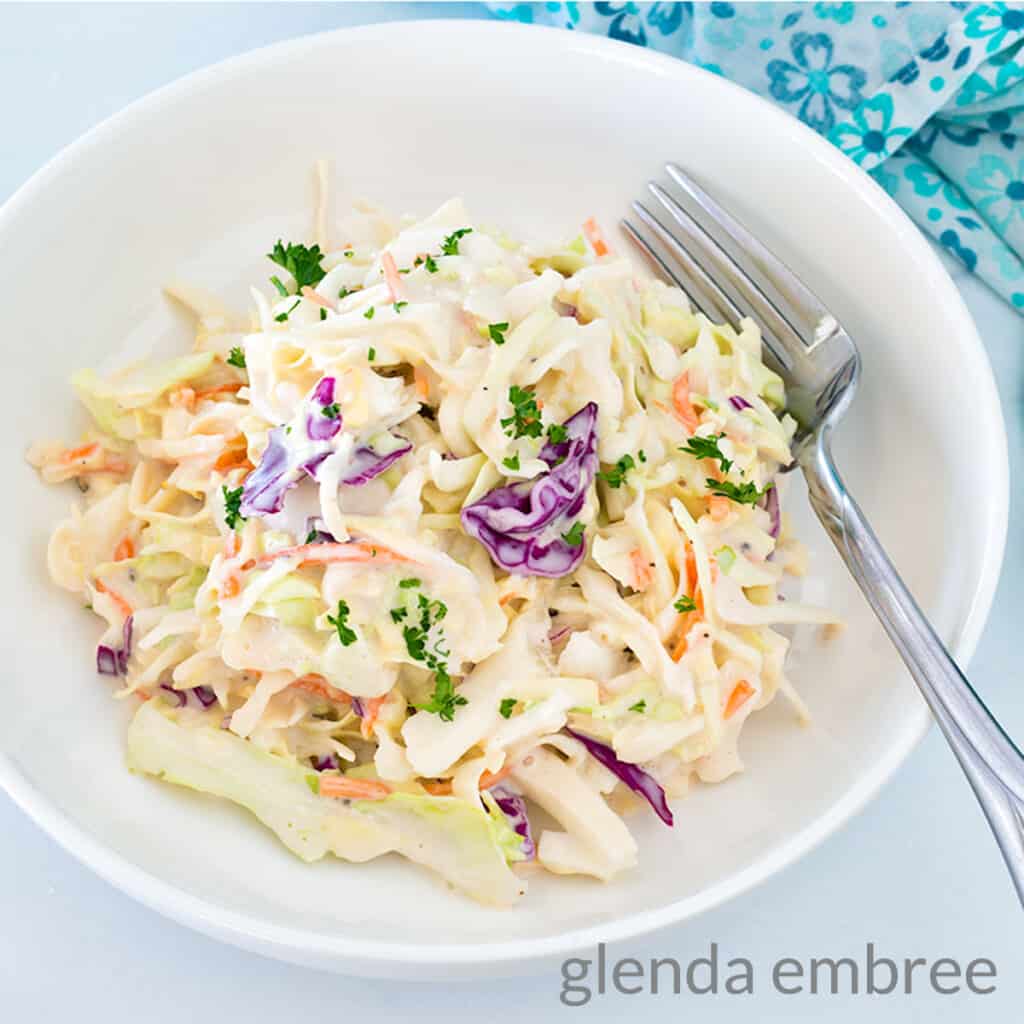
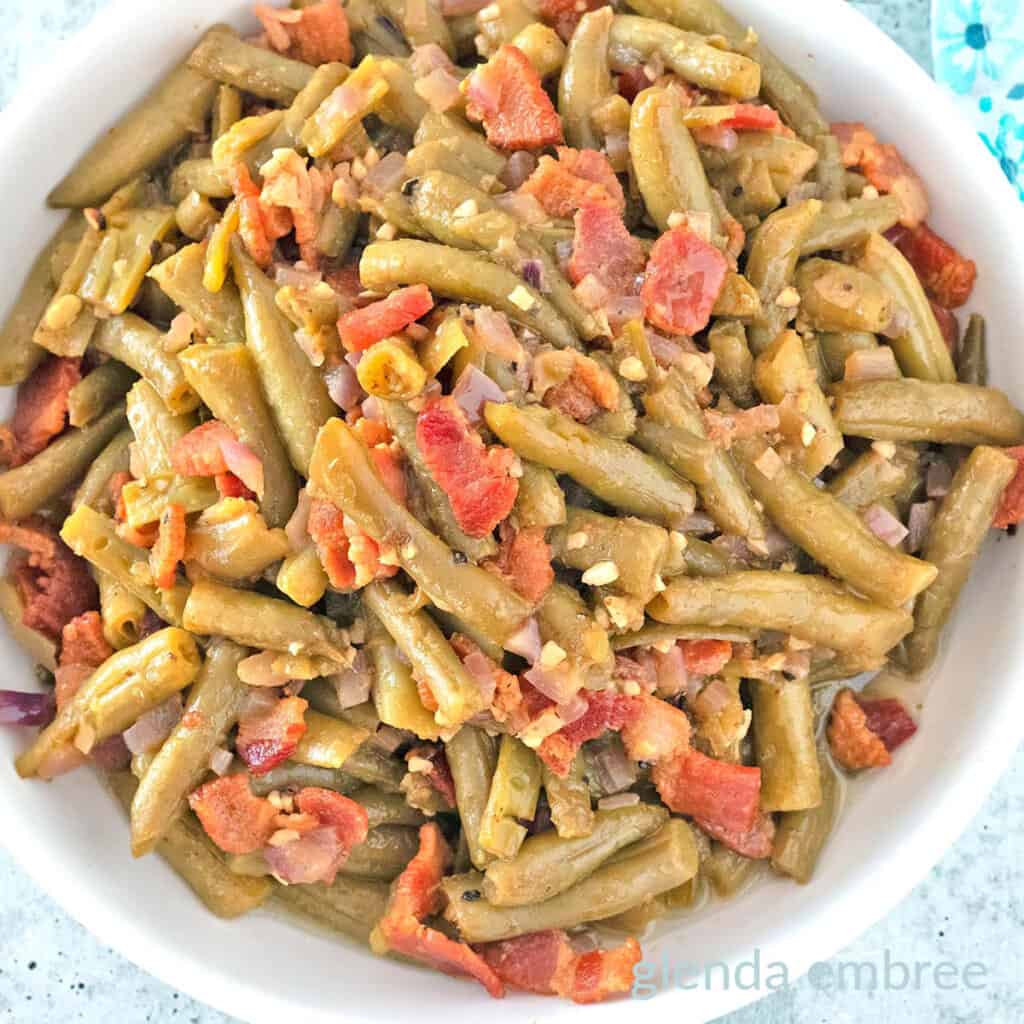
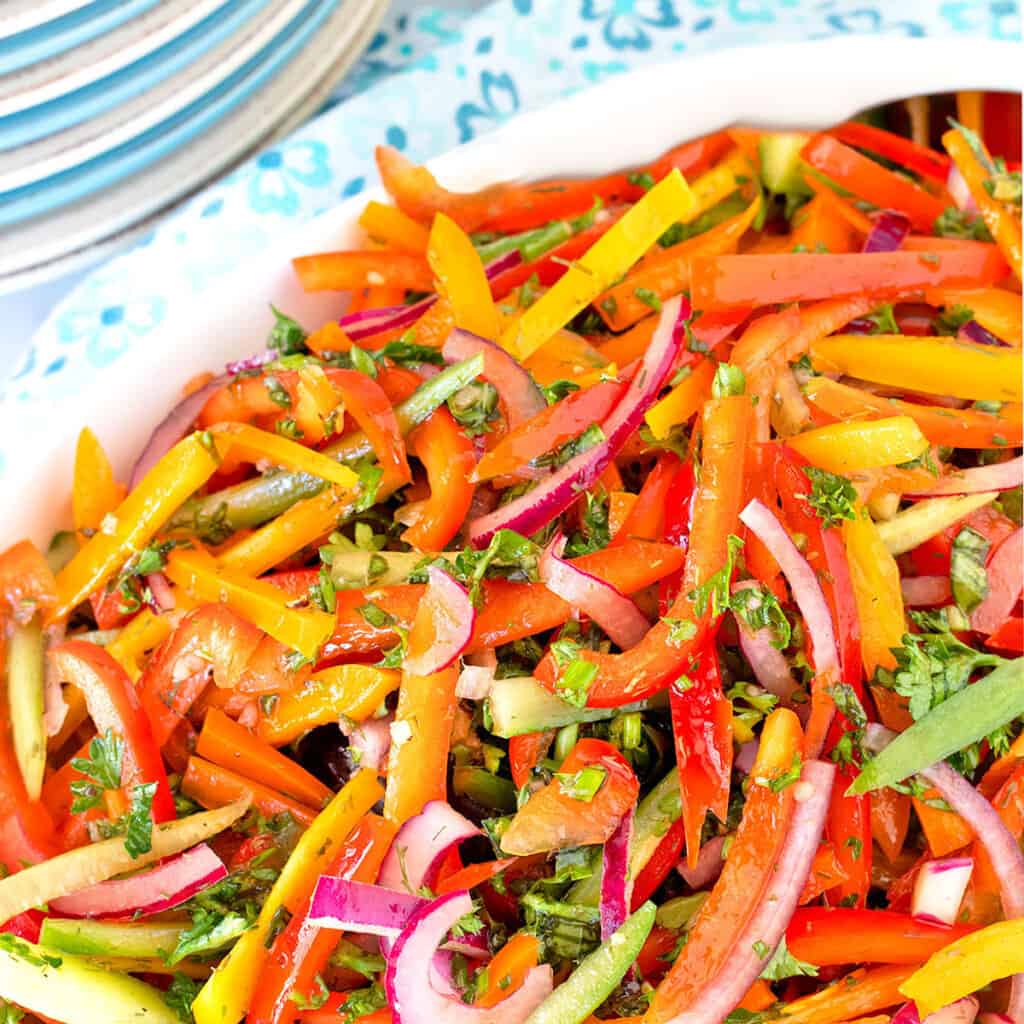
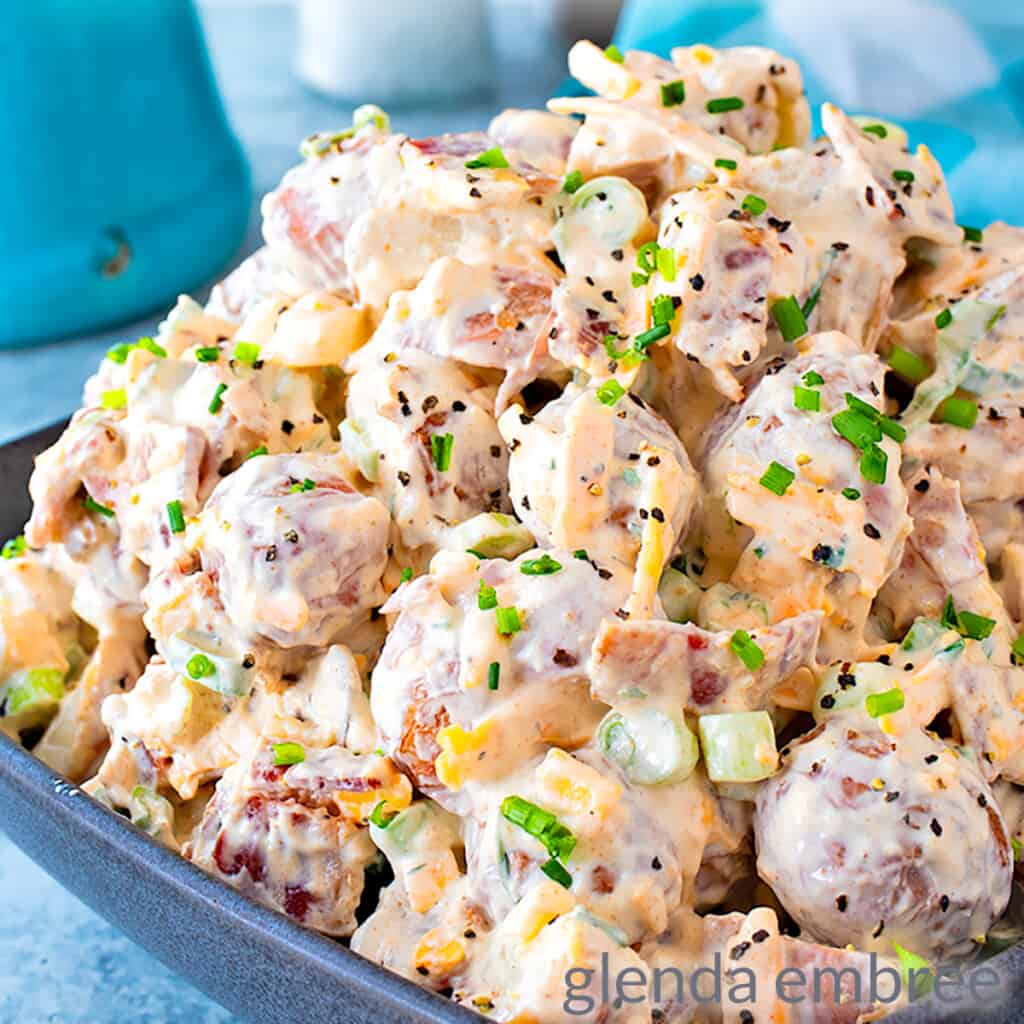
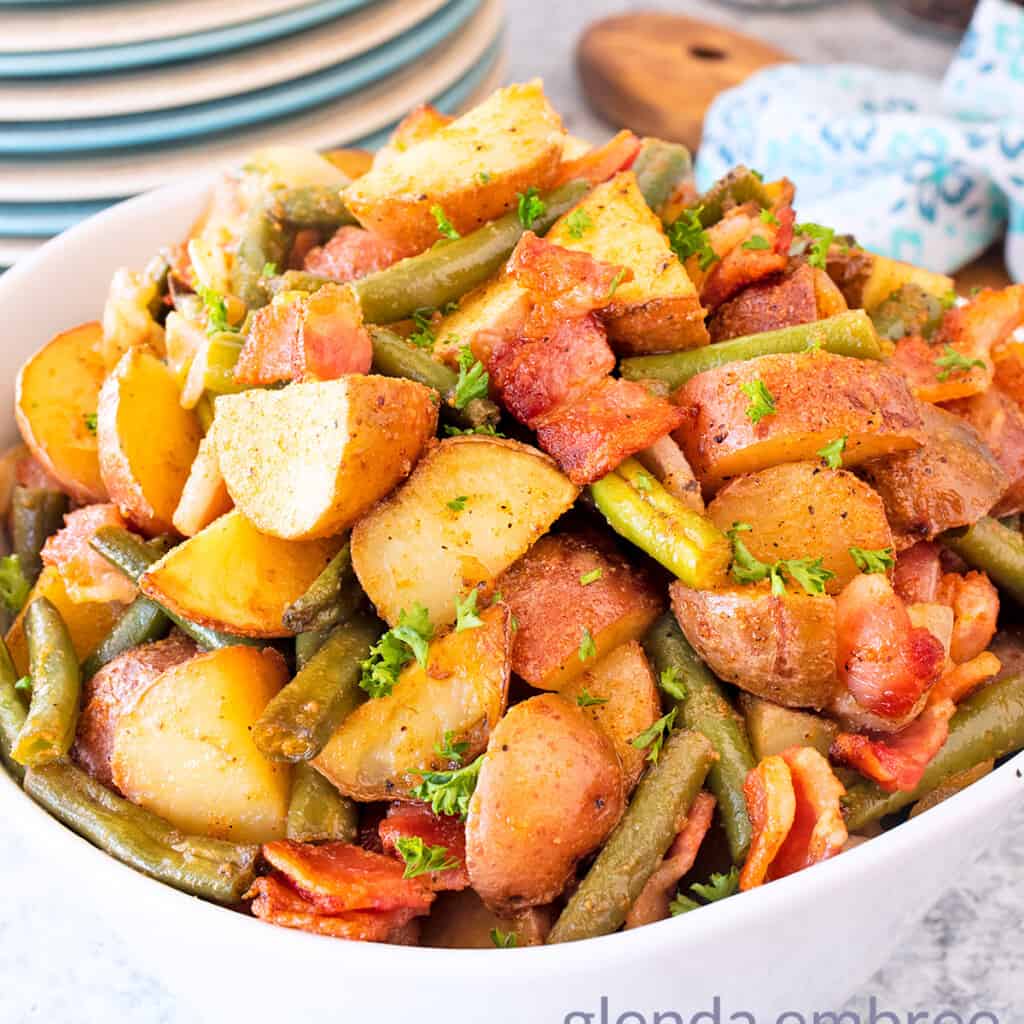
Get More Great Side Dish Recipes —>
The Recipe
Want to Save This Recipe?
Enter your email & I’ll send you the link so you always have it at your fingertips. Plus, I’ll send a collection of easy recipes to your inbox every Friday!
By submitting this form, you consent to receive emails from Glenda Embree.
Italian Chicken Cutlets
- Total Time: 30 minutes
- Yield: 4 cutlets 1x
Description
Italian Chicken Cutlets are a scrumptious quick & easy weeknight dinner. Thinly sliced chicken breast cooks up tender, juicy & extra crispy. The simple ingredients pack a flavor punch that will leave everyone wanting just one more bite.
Ingredients
- 2 large boneless skinless chicken breasts, cut in half horizontally
- 2 eggs
- 1 cup bread crumbs
- 1/2 cup Parmesan cheese, freshly grated
- 1 Tablespoon Italian seasoning
- salt and black pepper, to taste
- avocado oil or olive oil for spritzing
Instructions
Make the Cutlets:
- Mix bread crumbs, Italian seasoning, Parmesan, black pepper (and salt if needed) to create a breading for your Italian chicken cutlets.
- Beat the eggs in a separate container large enough to dip the chicken pieces into.
- Create the cutlets by slicing each chicken breast in half horizontally.
- Use a meat mallet to pound the thinly sliced chicken breast to a thickness of about 1/4 inch.
- Dip each cutlet in the beaten egg, letting any excess drip off.
- Dredge the dipped cutlets in the bread crumb mixture completely coating both sides.
- Choose a cooking method, below, and follow the instructions.
To Pan Fry:
- Set up a wire rack with paper towels underneath it. Leave it on the counter next to where you are frying.
- Cover the bottom of a cast iron or heavy-bottomed skillet with 1/8 inch of avocado or extra virgin olive oil.
- Heat the skillet to medium heat. The oil will be ready if you drop a crumb of breading into it, and it sizzles.
- When the oil is hot, place two or three cutlets into the hot skillet (whatever your skillet will hold in one layer) and fry on medium heat until both sides are golden brown.
- NOTE: TESTING CHICKEN FOR DONENESS – This will likely take about 4 or 5 minutes per side. But cooking time will depend on your stove and how thick you made your chicken cutlets.
- The USDA recommends cooking chicken to an internal temperature of 165°, taking the temp at the center of the thickest part.
- Remember that your chicken will continue to cook from residual heat even after it is out of the skillet. I usually shoot for anything 160° or above and let the chicken rest for a minimum of 5 minutes before serving, bringing it to a safe temperature without drying it out.
- You can also cut into a chicken cutlet to check the doneness. When the chicken’s done, the color will be white and opaque, with no hint of pink, and the juices will run clear. You will get a feel for this the more times you make chicken and be able to easily tell when yours is fully cooked.
- Remove the cutlets from the skillet and place them on your prepared rack when they are fully cooked. Some people like to drain their cutlets right on the paper towels, but that can actually make your breading soggy. After working to get it beautiful and crispy, that’s the last thing I want to do.
To Air Fry:
- Preheat the air fryer to 400°.
- Lightly spray the entire breaded surface of each cutlet with oil. Don’t use too much. You want enough oil to help the cutlet brown but not enough to saturate the breading.
- Place the prepped cutlets into the air fryer tray or basket.
- Place the basket into the air fryer (or oven air fryer) and air fry for 5 to 8 minutes on the first side.
- Flip the cutlets and air fry for an additional 4 to 8 minutes.
- NOTE: I can only give you approximate times here. The exact cooking time will depend on your specific air fryer and how thick you made your chicken cutlets. Small air fryers will usually cook even more quickly than large ones.
- Follow the guidelines in the NOTE under pan-frying for tips on checking doneness and USDA temperature guidelines.
- Flipping halfway through the cooking time ensures the cutlets are crispy on both sides.
In a Conventional Oven:
- Preheat the oven to 400°.
- Spray a baking sheet with the oil of your choice, or line the sheet with parchment paper.
- Place prepared cutlets on the baking sheet, ensuring they don’t touch so all edges can get crispy.
- Place the baking sheet in the preheated oven and bake the Italian chicken cutlets for 10 to 12 minutes.
- Flip the cutlets over and bake for an additional 8 to 12 minutes until both sides are golden brown and the chicken is cooked through.
- Turn the oven to broil and crisp up the tops if they are not browned to your liking.
In a Convection Oven:
- Set the oven to convection bake at 400°.
- Place an oven-proof wire rack on top of a baking sheet and brush or spray the rack with the vegetable oil of your choice to help prevent sticking.
- Arrange your breaded cutlets on the wire rack taking care that there is space between them and no edges are touching.
- Place the baking sheet in the preheated oven and bake the Italian chicken cutlets for 8 to 10 minutes.
- Flip the cutlets over and bake for an additional 7 to 9 minutes until both sides are golden brown and the chicken is cooked through. (Times are approximate as every oven is different. Cook until juices run clear and the USDA recommended safe temp of 165° is reached.)
- Turn the oven to broil and crisp up the tops if they are not browned to your liking.
- Prep Time: 15 minutes
- Cook Time: 15 minutes
- Category: Main Dish, Chicken
- Method: Air Fry, Fry, Bake
- Cuisine: American Italian
More Chicken Recipes to Try
- Air Fryer Chicken Cutlets, Quick Easy & Delicious
- Succulent Air Fryer Cornish Hen, Date Night Delicious
- Chicken Street Tacos, Easy Delicious Weeknight Dinner
- Buffalo Ranch Chicken Melts on Ciabatta Rolls
- Slow Cooker Pineapple Chicken in a Rice Bowl with Pineapple Salsa
- Easy Southwest Chicken Recipe, Juicy and Tender
- Creamy Sour Cream Chicken Enchiladas
More Easy Recipes:


About Glenda
I believe cooking from scratch doesn’t have to be complicated and that YOU can do it. My simple recipes, tutorials, and cooking tips will help you get weeknight dinners on the table with less stress. Forget takeout or the drive-thru. Let me show you how to make homemade easy. Read more...


Thank you for another great recipe! So delicious, I will be making again!
So easy and so delicious! Thank you!
Elaine, you’re so very welcome! I’m happy that you’re enjoying the recipe.
These Italian chicken cutlets are so delicious and easy to make. The breading was perfectly crispy and the chicken was so juicy and flavorful. My whole family really loved this recipe.
Jasmine, you’ve made my day! I’m so glad you and your family enjoyed the recipe.
Got a very crispy and flavorful chicken cutlets after reheating them in the air fryer. Thanks for the tip about not keeping breaded cutlets in the fridge before cooking them. I’ll make sure to freeze any extras instead.
Jelly, you’re so very welcome. Once they’ve been cooked the cutlets can be kept in the fridge for 3 or 4 days. It’s the uncooked cutlets that don’t do well in the fridge, as they lose a lot of their breading.
I tried this using the air fryer and I was happily surprised it still turned out juicy. Very easy to make and perfect for busy nights. Thanks so much for sharing this recipe!
Cleo, isn’t the air fryer amazing? I’m so glad you enjoyed the recipe! Thanks for stopping by to let me know.
The recipe was super easy to follow, and it was so delish! I followed the tip about slicing and pounding the chicken breasts to ensure even cooking. The cutlets turned out really flavorful and crispy. Thank you so much!
Rhian, you’re so welcome! I’m so glad the recipe worked out well for you.
These chicken cutlets are definitely going into my regular dinner rotation. So simple yet so delicious! Used Panko breadcrumbs for extra crunch and it turned out fantastic. Served it with a side of marinara sauce and spaghetti and my kids really enjoyed it!
Alex, that’s perfect! I’m thrilled you’ve made the recipe your own and that your family is loving it.